
Essential Pre-Molt Tarantula Care (Preparing for a Successful Shed)
The molting process, or ecdysis, is a tarantula’s silent and vulnerable rebirth, where the animal must literally crawl out of its own skin. This physiological marathon is the single most dangerous event in your tarantula’s life, and attentive pre-molt care is your most direct tool for ensuring survival. Through years of breeding, from observing my docile G. rosea Rosie’s prolonged fasts to my defensive P. murinus Flash sealing itself in silk, I’ve learned that recognizing the pre-molt phase is the keeper’s crucial responsibility. This article will translate the subtle signs-darkening abdomen, lost appetite, prolonged stillness-into actionable husbandry steps that minimize risk and mimic the security of a natural burrow.
- Origin: Adaptations vary by species, from the humid burrows needed by my T. stirmi Goliath to the arid hides preferred by many Grammostola.
- Type: Applies to both New World (like those with urticating hairs) and Old World tarantulas; stress reduction is universal, but humidity needs are not.
- Growth Rate: A sling may molt every few weeks, an adult like my 15-year-old Rosie only once every year or two; pre-molt duration scales accordingly.
From the first opaque sheen on a spiderling to the final, majestic shed of a mature female, this guide details the specific environmental adjustments and respectful “look, don’t touch” protocols that support a successful molt at every life stage.
Understanding the Pre-Molt Phase
What is Pre-Molt?
Pre-molt is the preparatory period where your tarantula’s body begins the incredible internal work of building a new, larger exoskeleton beneath the old one. Think of it as your spider entering a factory reset mode, where energy is diverted entirely to growth and renewal, not daily activities. This isn’t a quick event but a drawn-out process that can last from a few weeks to many months, especially in older specimens like my 15-year-old Chilean Rose Hair.
The Tarantula Molting Cycle
The cycle is continuous: pre-molt leads to the molt itself (ecdysis), which is followed by a post-molt hardening period. Pre-molt is the most critical care phase you will manage, as mistakes here directly impact the safety and success of the shed. During this time, the old exoskeleton loosens, and the new one forms, utilizing specialized hormones and fluid pressures your tarantula meticulously controls. A successful cycle depends on proper hydration and a stress-free environment established long before the spider flips onto its back. During this time, most keepers implement a brief pre-molt fast and avoid additional feeds to minimize stress. This aligns with guidelines on when not to feed during pre-molt and how to time other fasts around the molt.
Recognizing the Signs of Impending Molt
Spotting these cues early allows you to adjust care proactively. The signs manifest in two key areas: the spider’s physical form and its daily habits.
Physical Changes to Watch For
- A Darkening, Shiny Abdomen: The abdomen (opisthosoma) often turns a darker, sometimes blackish hue and develops a glossy, stretched appearance. This is due to the new exoskeleton forming underneath and the skin filling with fluid.
- Dulling of Colors and Bald Patches: The vibrant colors of species like my Orange Bitey Thing (OBT) will look faded. That famous “flash” of orange becomes muted, a surefire sign he’s gearing up for an upgrade. Existing urticating hair bald patches, common in my T. stirmi, may appear larger as the old skin detaches.
- Increased Size and Lethargy: Your tarantula may seem noticeably plumper. Combined with reduced movement, this isn’t obesity but a pre-molt state.
Behavioral Cues and Activity Shifts
- Refusal of Food: This is the most universal signal. A hungry tarantula becomes a finicky one. My G. rosea, Rosie, will famously reject crickets for six to eight months before a molt, transforming her enclosure into a scene of profound patience. Never force-feed a tarantula in pre-molt.
- Webbing and Burrow Modification: Many tarantulas intensify their webbing. Terrestrials may seal off burrow entrances with thick mats of silk. Arboreals create extensive, dense “molting mats.” My P. murinus, Flash, will web every surface into a fuzzy orange fortress.
- Reduced Activity and Clumsiness: Your spider becomes a recluse. You may notice a slight loss of coordination, as the attachment between the old and new exoskeleton weakens. This is a time for extreme caution and a strict “Look, Don’t Touch” policy to prevent falls.
Timeline and Duration of Pre-Molt
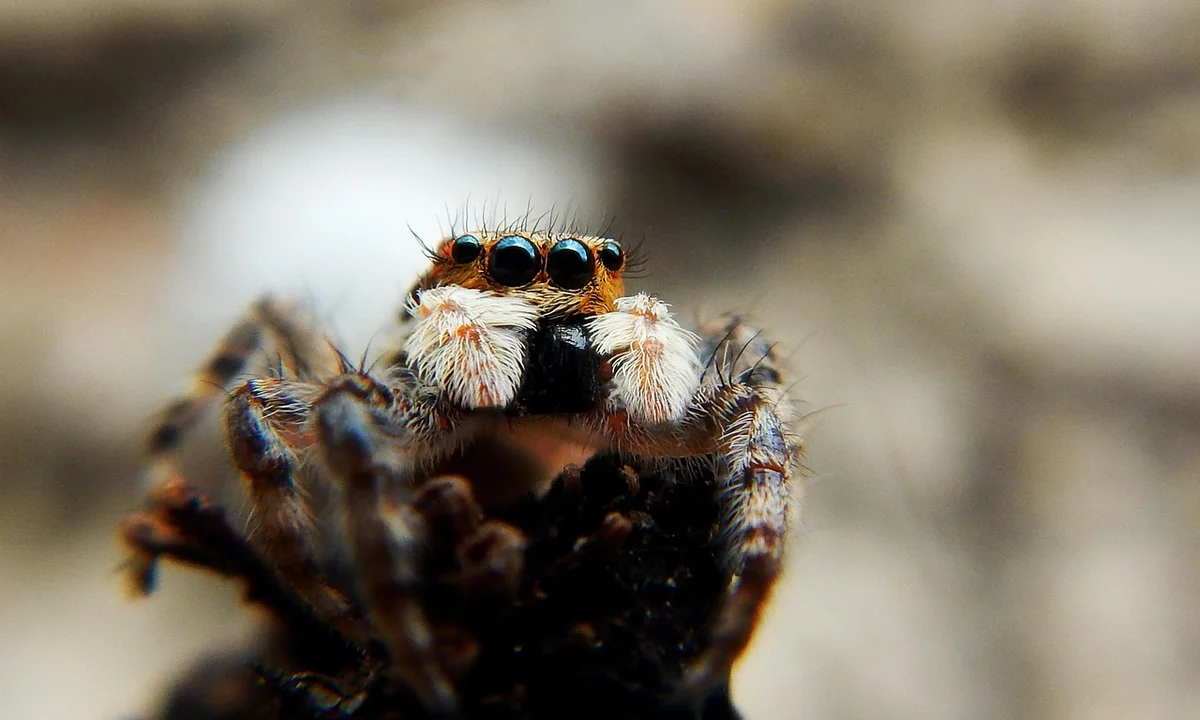
Watching for the subtle signs of pre-molt is a test of a keeper’s patience and observation. The clock you’re watching has no numbers.
How Long Does Pre-Molt Last?
There is no universal schedule. For a sling, the entire process from darkening to molt might be a mere week. For a mature female like my 15-year-old Grammostola rosea, Rosie, pre-molt can be an 18-month saga of fasting and stillness. Generally, the larger and older the tarantula, the longer and more drawn-out the pre-molt period will be. My juvenile Theraphosa stirmi, Goliath, might fast for a solid two months before his dramatic shed.
Factors Influencing the Pre-Molt Period
Several key elements dictate the speed of this internal process. Understanding them helps you manage expectations.
- Species & Growth Rate: Fast-growing species like Pterinochilus murinus (OBTs) cycle quickly. My OBT, Flash, can enter and complete pre-molt in a matter of weeks as a juvenile. Slow-growing desert species take their time.
- Age & Sex: Spiderlings molt frequently with short pre-molts. Adult males rarely molt again after their ultimate maturation. Adult females have the longest, most variable cycles.
- Temperature: Metabolism is tied to warmth. A tarantula kept at 75°F (24°C) will process its molt faster than one kept at 68°F (20°C). I use this to gently influence timing if needed.
- Nutritional History: A well-fed tarantula has the resources to initiate molt sooner. Chronic underfeeders may have protracted, difficult cycles.
Adjusting Care: Feeding, Hydration, and Humidity
Your routine must adapt when pre-molt begins. This is where your actions directly support a safe, successful shed.
The Essential Feeding Pause
The most critical change is to stop offering food the moment you suspect pre-molt. A cricket left with a vulnerable, soft-skinned tarantula can cause fatal injury. I learned this early when a mealworm nibbled on a freshly molted spiderling. Beyond safety, their body is repurposing energy; they simply cannot eat. Offering food stresses them. Remove any uneaten prey immediately.
Hydration and Humidity Management
Water is the non-negotiable element of a good molt. Internal hydraulic pressure is what splits the old exoskeleton.
First, ensure the water dish is always full and clean. I often overfill it slightly to dampen a corner of the substrate, providing a humidity gradient. For moisture-dependent species like Goliath, I maintain 75-80% humidity via deep, damp substrate and careful ventilation. For arid species like Rosie, a full water dish is sufficient-raising ambient humidity can do more harm than good.
The goal is a plump abdomen and access to moisture, not a wet, stagnant enclosure. Watch for your tarantula spending time near its water dish; this is a clear signal of its needs. Beware of signs of overhydration or excess moisture, such as a persistently damp substrate or a swollen abdomen.
Preparing the Enclosure for a Safe Molt
The enclosure transforms from a living space into a maternity ward and recovery room. Every element must prioritize security and minimize stress. Your goal is to create a quiet, stable, and hazard-free environment where the only thing your tarantula must focus on is the monumental task of shedding its exoskeleton. Whether terrestrial or arboreal, essential enclosure features remain—secure walls, safe ventilation, and appropriate substrate. Terrestrial tarantulas benefit from broad, stable ground space, while arboreal species require sturdy vertical structures for climbing.
Substrate and Moisture Setup
Substrate choice directly impacts molt success. It must provide secure footing and, for many species, localized humidity. I use a deep, packed mix of coconut fiber and topsoil for all my tarantulas. For my moisture-dependent T. stirmi Goliath, I heavily dampen one entire half of the enclosure. For my arid G. rosea Rosie, I simply overflow the water dish into the substrate beneath it.
This creates a subtle humidity gradient. The tarantula can position itself over moisture if needed, but can also retreat to a drier area, a choice critical for preventing respiratory issues or mold. To create a proper substrate moisture gradient for your tarantula, vary moisture levels across the substrate and monitor regularly. Keep damp zones shallow and ensure there is airflow to prevent mold.
- Depth: Provide at least 1.5 times the tarantula’s diagonal leg span in substrate depth. A burrowing species may vanish completely, which is perfect.
- Moisture Method: Pour water directly into a corner of the substrate, letting it seep. Surface spraying is ineffective and can startle the animal.
- The Water Dish: Keep it full, clean, and accessible. A hydrated tarantula has a more flexible old exoskeleton, making the molt easier. I use shallow bottle caps for smaller spiders.
Ensuring Safety and Stability
Remove all climbing hazards. A tarantula in the vulnerable act of molting that falls even a few inches can suffer fatal internal injuries or limb damage. My fast P. murinus Flash webs every surface, so I ensure any décor is firmly anchored to the bottom.
- Anchor cork bark and hides by burying their bases.
- Remove any unstable ornaments or tall plants.
- Verify all ventilation is secure-no gaps large enough for a lethargic, soft tarantula to squeeze through.
- Place the enclosure in a low-traffic area away from vibrations, direct sunlight, and drafts. This is not the time for cage rearrangements.
The silence of the enclosure during this period is not emptiness; it is a sign of correct, respectful preparation.
Avoiding Common Pre-Molt Problems
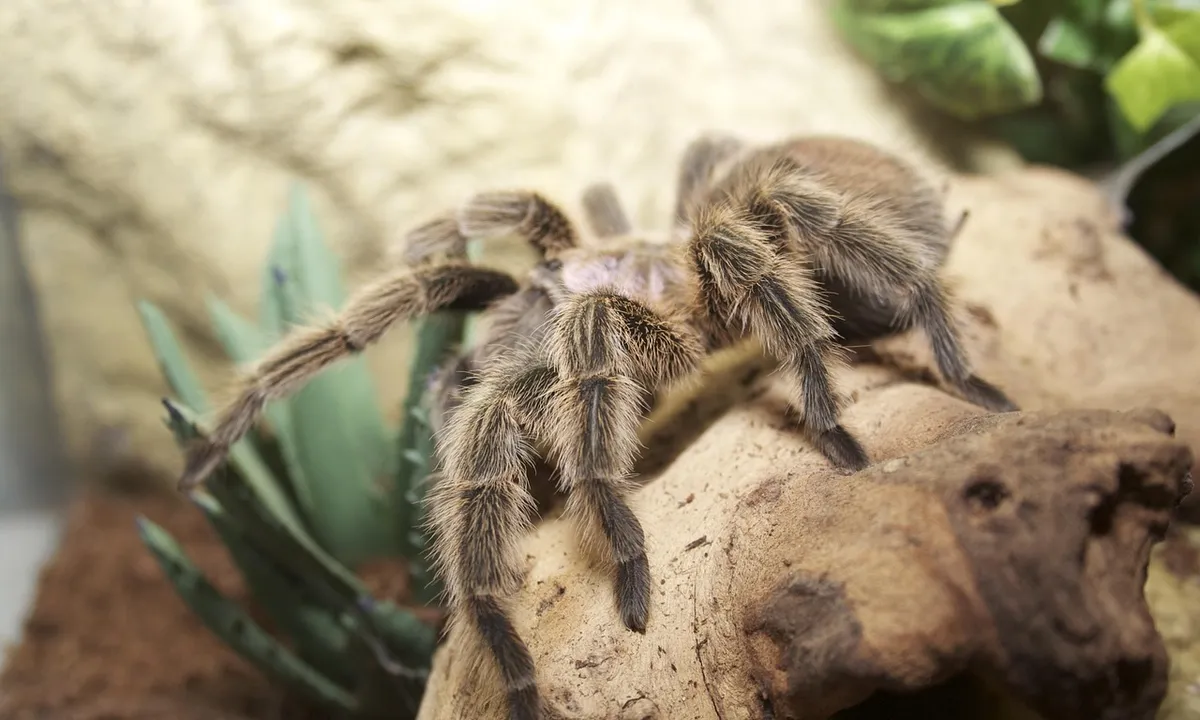
Problems often stem from good intentions executed poorly. The most dangerous tool during pre-molt is your own hand, driven by worry. Observation must replace intervention.
Risks of Disturbing a Tarantula in Pre-Molt
Disturbance triggers a stress response, diverting energy needed for the molt process toward defense or flight. For a tarantula, this can mean a mismolt-getting stuck in the old skin. Every prod, every attempt to offer food, every enclosure tap adds a tangible risk to an already perilous biological event.
My OBT, Flash, once entered pre-molt. I made the mistake of sliding the lid open to check the water dish. The sudden strike against the acrylic, the immediate threat posture-it was a clear, defensive reaction from an animal feeling vulnerable. I learned to observe from a distance. Do not:
- Attempt to handle the tarantula.
- Offer food once a refusal is noted.
- Poke or tap the enclosure to “check” on them.
- Change lighting or move the tank location.
Handling Uneaten Prey and Enclosure Cleanliness
A live cricket or mealworm left unattended will relentlessly investigate the stationary tarantula and can inflict serious damage on a soft, molting spider. You must become a stealthy removal expert, prioritizing the tarantula’s peace over a perfectly clean tank.
Use long, soft-tipped feeding tweezers. Move slowly and deliberately. If the prey insect is near the tarantula’s hide, it is sometimes safer to leave it and monitor closely rather than risk a major disturbance. Spot-cleaning of boluses (food packets) or feces can wait until well after the molt is complete and the new exoskeleton has hardened.
- Monitor for prey for 24 hours after offering.
- If uneaten, remove it calmly with tools at the next quiet opportunity.
- Do not perform substrate changes or major cleaning until weeks post-molt.
Post-Molt Care Essentials
The final exuvium lies discarded. Your tarantula now rests, a soft, glistening sculpture. This is the most vulnerable phase in its life cycle, and your care shifts from anticipation to vigilant protection. The new exoskeleton, including the fangs, is pliable and useless for defense or feeding. My Goliath once took a full week before his massive fangs hardened from a rubbery brown to glossy black.
Immediate Actions After the Molt
Your first tasks are non-intrusive. Move slowly and avoid any vibrations near the enclosure.
- Do Not Disturb: Leave the tarantula completely alone for a minimum of 48 hours. No feeding, no watering, certainly no handling. The silence of the enclosure is its greatest ally.
- Verify a Clean Exit: Use a soft paintbrush or long tweezers to gently remove the old molt for examination, but only if you can do so without stressing the animal. A torn molt left inside can cause complications.
- Hydrate, Don’t Flood: After the initial 48-72 hours, ensure the water dish is full and clean. You can gently overflow it to dampen a small section of substrate, providing ambient humidity without making the entire enclosure soggy. My P. murinus Flash webbed his dish shut once, a clear sign he wanted no part of it yet.
- Check for Injuries: Look for any retained limbs or abdominal damage on the discarded exuvium. If a leg is missing from the shed, the new one may be smaller or malformed. The tarantula will often self-amputate it later.
Observing the hardening process-the deepening of colors, the return of a defined sheen-is one of the most rewarding parts of our hobby.
Resuming Normal Care and Feeding
Patience is not a virtue here; it is a requirement. Rushing this timeline is a common cause of injury.
- The Fangs Are Key: Wait until the fangs have fully sclerotized. They transition from a pale, often reddish or brown color, to a solid, glossy black. This typically takes 7-10 days for slings, and 10-21 days for larger juveniles and adults.
- First Meal Protocol: Offer a smaller, softer prey item than usual. A pre-killed mealworm or a small, slow-moving cricket is ideal. Drop it near the tarantula at night. If it is ignored, remove the prey immediately in the morning.
- Resume Regular Schedule: Once the first meal is taken, you can gradually return to the normal feeding schedule. Your tarantula may exhibit a ravenous appetite to fuel its new, larger body.
- Adjust Humidity: Post-molt, many species benefit from slightly elevated humidity for a week or two to aid complete hardening. For my moisture-dependent T. stirmi, I keep the substrate noticeably damp. For my arid G. rosea, Rosie, I simply ensure her dish is full.
A successful post-molt period is defined not by what you add, but by the stressors you meticulously remove. This quiet support is the foundation of a healthy, long-lived tarantula.
FAQs
How long does the pre-molt phase typically last?
The duration varies dramatically and is not on a fixed schedule. For a fast-growing spiderling, pre-molt may last only a week or two. For a large, mature female tarantula, this preparatory phase can extend for many months, sometimes over a year. The timeline is influenced by the species’ growth rate, the spider’s age, and environmental factors like temperature. For a detailed view, check out the complete molt timeline.
Should I remove uneaten prey from the enclosure during pre-molt?
Yes, this is a critical safety step. Any live insect left in the enclosure can injure a vulnerable tarantula before, during, or after its molt. Use long tweezers to calmly and carefully remove the prey at the first quiet opportunity. If removing it would cause a major disturbance, closely monitor the situation and intervene as soon as it is safe to do so. For more detailed instructions on safely removing prey, see how to safely remove an uneaten bolus from your tarantula’s enclosure.
What are the risks of disturbing a tarantula in pre-molt?
Disturbance causes significant stress, which diverts crucial energy away from the molting process. This stress can lead to a mismolt, where the tarantula gets stuck in its old exoskeleton, often with fatal results. Even tapping on the glass or sudden movements near the enclosure can trigger a defensive or flight response, increasing the risk of injury during this delicate time.
How do I know if my tarantula is having a bad molt?
A bad molt, or mismolt, is often indicated by the tarantula becoming stuck partway out of its old skin. You may see it struggling for an extended period, or find it with the old exuvium still attached to parts of its body, like limbs or the abdomen. A successful molt is typically completed within a few hours, while prolonged struggle or partial shedding signals a serious problem.
What post-molt care steps are essential?
The most important rule is to not disturb the tarantula for at least 48-72 hours after the molt. Ensure a full water dish is available, as hydration is key for the new exoskeleton to harden properly. Do not offer food until the fangs have fully hardened to a glossy black, which can take 7-21 days depending on size. After the fangs have hardened, it is safe to feed after molting with very small prey. Begin with a minimal offering and observe for a normal feeding response before increasing. Your primary role is to provide a quiet, stable environment for recovery.
The Final Molt
The single most reliable sign of an approaching molt is a complete refusal of food. When your tarantula shuts its burrow and ignores prey, the only thing it needs from you is a quiet, stable, and slightly humid environment. Trust its instincts and remove any uneaten insects immediately to prevent stress or injury. This is one of the 10 key signs that your tarantula is about to molt. By recognizing all ten signals, you can better prepare your enclosure and care during this vulnerable period.
Beyond the mechanics of the shed itself, the true reward is witnessing the profound transformation. Your once-dull Rosie will emerge with a vibrant, dusty-pink sheen. My defensive OBT, Flash, will meticulously web a new, larger silk fortress. This is the hobby’s quiet core: observing natural behaviors unfold in stillness. The patience you practice during a molt is the same patience that makes a great keeper. Watch, learn, and appreciate the silent, incredible process of growth happening right before you.
Further Reading & Sources
- How to Tell If Your Tarantula Is Molting: 5 Signs
- Basic Care
- Tarantula Molting: How To Notice Signs Of Premolt
Arlo is a lifelong arachnid enthusiast who believes tarantulas are the world’s most misunderstood roommates. With years of hands-on experience in tarantula care, habitat setup, and species behavior, Arlo combines expert knowledge with a dash of humor to make spider ownership less scary and a lot more fascinating. From choosing the right enclosure to understanding why your eight-legged buddy is doing that weird little pose again, Arlo is here to help you become the best tarantula parent you can be, without getting tangled in the web of misinformation.
Molting Process