
How to Properly Ventilate and Secure a Tarantula Enclosure
Published on: February 27, 2026 | Last Updated: February 27, 2026
Written By: Arlo
While the shimmer of a fresh web and the silent stalk of a hunting tarantula captivate us, the unseen airflow around them is what truly dictates their health and longevity. This guide tackles the critical, yet often overlooked, husbandry pillars of ventilation and security. Getting these elements wrong doesn’t just risk an escape; it can create stagnant, fungal death traps or dry, desiccating environments.
The single most important takeaway is this: effective ventilation is about air *exchange*, not just holes, and security is a non-negotiable promise to a pet that cannot be potty-trained or recalled.
Quick Stats: Enclosure Fundamentals
- Primary Goal: Prevent stagnant air and prevent escapes.
- Critical Concept: Cross-ventilation (vents on opposing sides).
- Key Security Risk: Gaps from warped lids, loose door seals, or improper clips.
My promise is that by the end of this guide, you will know how to construct a fortress that breathes, tailoring your approach whether you’re housing a moisture-loving giant like my Theraphosa stirmi or a dry-dwelling Grammostola rosea.
The Science of Airflow in a Tarantula Enclosure
Why Stagnant Air is a Silent Threat
Stagnant air creates a perfect pocket for mold and harmful bacteria. Your tarantula breathes through book lungs, which require fresh air to function. Without movement, humidity spikes and plummets wildly. This stresses their systems. I learned this with Goliath, my Theraphosa stirmi. He needs damp substrate, but a stuffy tank once sprouted fuzzy mold overnight. Proper ventilation prevents these invisible dangers, letting you maintain stable humidity without risk. It’s essential to recognize the signs of incorrect humidity in a tarantula enclosure.
Think of your enclosure as a tiny biome. Decomposition from waste and leftover prey needs airflow to manage. Stagnation also concentrates urticating hairs in the air. This is a health concern for you and your pet. My rule is simple: good airflow means a healthier animal and clearer observation. Respectful care starts with an environment that mimics the gentle air currents of their natural habitat.
Mapping Effective Airflow Patterns
Effective ventilation relies on cross-ventilation. Air should enter low on one side and exit high on the opposite. This creates a gentle draft across the substrate. It discourages dead zones where moisture pools. For my moisture-dependent Goliath, I use vents on two sides. For my arid-loving Rosie (Grammostola rosea), a single row suffices. This targeted approach balances moisture retention with essential gas exchange.
Consider your tarantula’s behavior. My OBT, Flash (Pterinochilus murinus), webs heavily. Vents placed too low get sealed shut. Sealing the burrow is a common adaptive behavior that helps regulate humidity and temperature and block drafts. Decoding this helps explain why your tarantula might seal her entrance—it’s about microclimate and safety, not aggression. I map airflow around her web tunnels. The goal is silent, consistent exchange. You should never feel a strong wind inside the enclosure. Mapping airflow is about guiding the invisible to create a stable, secure home. For more information on this, check out the article on Tarantula burrow sealing behavior.
Designing and Implementing Ventilation
Choosing the Right Materials and Tools
You need durable tools that won’t shatter enclosures. For plastic, a simple hand drill or heated metal probe works. For glass, use a diamond-tipped hole saw and constant water cooling. I use a cordless drill for most jobs. Always wear safety goggles. For the vents themselves, stainless steel mesh is best. It resists rust and is too fine for escapes. Investing in the right materials prevents accidents and ensures long-term security.
Here is my essential toolkit:
- Cordless drill with variable speed
- Diamond-tipped hole saw bits (for glass)
- Standard drill bits (for acrylic or plastic)
- Stainless steel mesh sheets
- Aquarium-safe silicone sealant
- Painter’s tape (to prevent cracking)
I learned the value of a diamond bit the hard way after cracking a spare tank during a late-night modification.
Step-by-Step: Adding Vents to Glass and Plastic
Follow these steps carefully to avoid injury or escape.
- Mark and Tape: Use painter’s tape over the area you’ll drill. This reduces splintering in plastic and controls glass dust.
- Start Slow: For glass, drill at a low speed with light pressure. Use a steady stream of water to lubricate and cool the surface. For plastic, use a sharp bit and moderate speed to melt through cleanly.
- Clean the Edges: Once the hole is made, sand any sharp burrs. A rough edge can injure a wandering tarantula.
- Secure the Mesh: Cut your stainless steel mesh slightly larger than the hole. Apply aquarium silicone around the rim and press the mesh into place. Let it cure for 48 hours. This curing time is non-negotiable; fumes are toxic to your pet.
I practice this on spare containers first. When rehousing Flash, her speed made me grateful for perfectly secured, smooth-edged vents. A methodical approach turns a risky task into a routine part of responsible husbandry.
Determining Hole Size, Number, and Placement
Hole size must prevent escapes. For slings, keep holes under 2mm. For adults, 3-5mm is safe. My 15-year-old Rosie could never fit through a 4mm hole. Count holes based on enclosure volume. A good start is 10-15 small holes per side for a 10-gallon tank. Adjust for species needs.
Use this table as a quick reference guide for common enclosure sizes:
| Enclosure Size | Minimum Holes (Each Side) | Recommended Hole Size | Best for Species Like… |
|---|---|---|---|
| 5-gallon | 8-10 | 3-4mm | G. rosea (Rosie) |
| 10-gallon | 12-15 | 4-5mm | T. stirmi (Goliath) |
| High acrylic | 15+ (top & sides) | 2-3mm | P. murinus (Flash) |
Placement is strategic. For moisture-loving species, place most vents in the upper half. This lets humidity stay low near the substrate. For arid species, distribute vents evenly. Always ensure the lid is also secure. Ventilation design is a balance between safety, species-specific needs, and the silent science of airflow.
Mastering the Humidity-Ventilation Balance
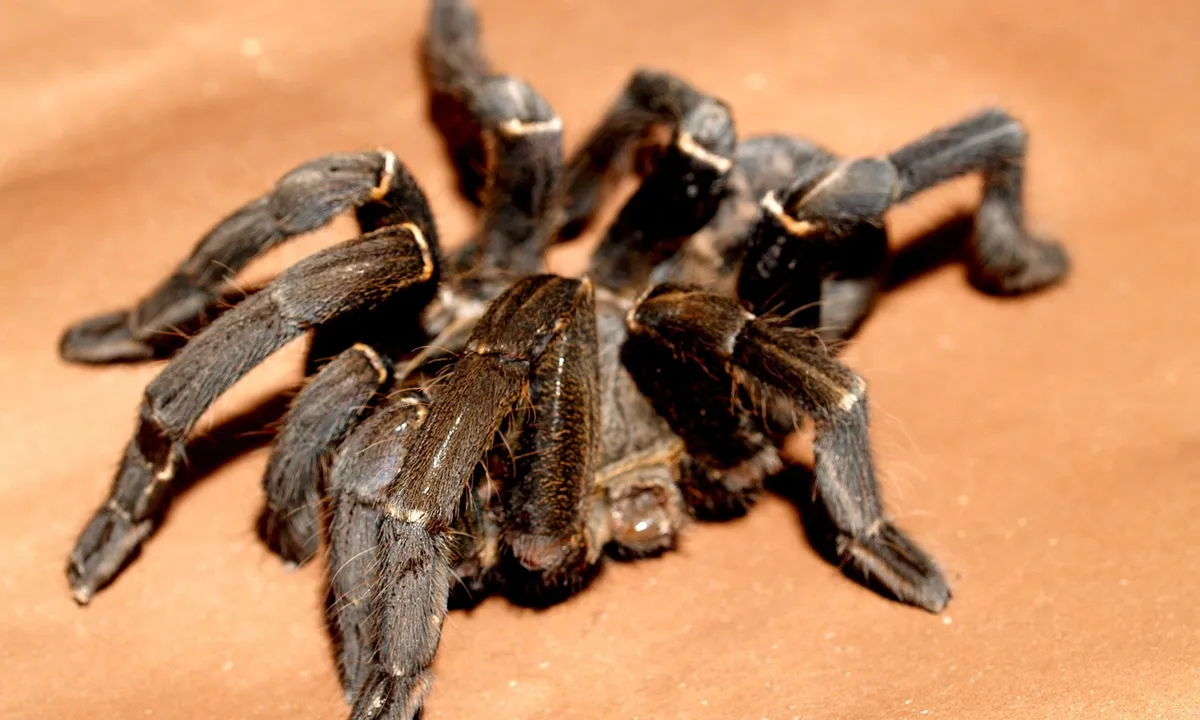
How Airflow Directly Alters Enclosure Humidity
Think of ventilation as the silent governor of moisture in your tarantula’s world. Air moving through vents pulls water vapor out, dropping humidity with every pass. My Burgundy Goliath Bird Eater, Goliath, showed me this directly. His setup needed 80% humidity, but excessive cross-ventilation stole that moisture, plunging levels to 60% and leaving his substrate parched. That balance is a classic example of one of the five biggest humidity-ventilation mistakes in tarantula care. Avoiding these mistakes means balancing moisture and airflow rather than simply adding water. You control humidity not by adding water alone, but by strategically limiting how air escapes the enclosure.
Watch for condensation on the glass-a sign of high humidity and low airflow. For species requiring damp conditions, this film is a good marker. I use digital hygrometers at both the top and bottom of enclosures to map the gradient. Consistent readings within a 5-10% range are far safer than a constant rollercoaster of wet and dry cycles.
- High airflow: Rapid drying, ideal for arid dwellers like my Grammostola rosea, Rosie.
- Moderate airflow: Balanced exchange, perfect for many tropical terrestrial species.
- Low airflow: Stagnant, moist air, crucial for swamp specialists like Theraphosa stirmi.
Tailoring Your Approach by Species
Your tarantula’s origin story is written in its humidity needs. My Chilean Rose Hair, Rosie, hails from arid scrublands, so her enclosure has ventilation panels on all sides, keeping humidity a steady 50%. Goliath’s rainforest home means his tank has vents only along the upper third, trapping moisture below for his burrow. Mimicking these native conditions isn’t just beneficial; it’s a non-negotiable for long-term health. Understanding the ideal temperature and humidity ranges for tarantula enclosures is essential. These ranges are species-specific, and getting both factors right helps support healthy molts and ongoing well-being.
My Orange Baboon Tarantula, Flash, presents a middle path. His Pterinochilus murinus ancestry favors semi-arid zones with good air movement. I provide ventilation strips along the upper sides to prevent stuffiness in his dense web tunnels without desiccating them. Here is my species-specific breakdown from years of trial and error.
- Arid Experts (e.g., G. rosea): Maximize cross-ventilation. Use deep, dry substrate. Target humidity: 40-60%.
- Humidity Lovers (e.g., T. stirmi): Limit top vents, add a water dish for evaporation. Target humidity: 75-85%.
- Fast-paced Opportunists (e.g., P. murinus): Ensure even airflow to discourage mold in webbed areas. Target humidity: 65-75%.
I adhere to a strict ‘Look, Don’t Touch’ philosophy, especially when adjusting ventilation. Observing from outside the enclosure-noting burrow integrity or webbing density-gives you the clearest feedback on your humidity-ventilation balance.
Creating an Escape-Proof Security System
Selecting and Modifying Secure Lids
The lid is the barrier between your tarantula’s home and your home. Standard screen lids are a common failure point; their gaps can fit spiderlings, and they rust. I learned this when my juvenile OBT, Flash, vanished overnight after exploiting a minuscule warp in a screen. Invest in a solid lid made of acrylic or glass, with mechanically drilled holes no larger than 2mm in diameter.
Modification is often necessary. For many of my enclosures, I replace flimsy mesh with stainless steel or fiberglass screen, sealed tightly with aquarium-safe silicone. The silence of a secure enclosure is palpable compared to the faint rattle of a loose lid. A properly fitted lid should produce a soft ‘snick’ when closed, with no visible light passing through the seams.
- Acrylic Lids: Lightweight and easy to drill, but can warp over time with high humidity.
- Glass Lids: Heavy and stable, excellent for retaining heat and moisture.
- Custom Fit: Always measure the inner lip of your enclosure, not the outer rim, for a perfect seal.
Building Reliable Locks and Latches
A lid without a lock is an invitation. Commercial slide locks work, but for odd-shaped enclosures, a DIY approach is superior. My large T. stirmi enclosure uses a dual-point locking system because Goliath’s strength is enough to shift a single weak latch. Effective security accounts for the surprising leverage a heavy tarantula can apply with its legs against a lid corner.
The sudden strike of a startled tarantula can jolt a lid. After Rosie once nudged her lid open during a feeding, I upgraded all my latches. For standard rectangular tanks, this simple DIY mechanism has never failed me.
DIY Locking Mechanism for a Standard Enclosure
This build uses a cabinet turn latch and a small hinge to create a positive lock. I’ve installed these on all my terrestrial enclosures for years. You need a turn button latch, a small hinge, short screws, a drill, and a screwdriver. This design is inexpensive, adds negligible weight, and functions as a visual confirmation that the enclosure is secure.
- Position the hinge on the front center of the lid’s top surface and mark the screw holes.
- Drill pilot holes for the hinge screws to prevent cracking acrylic or splitting wood.
- Screw the hinge base firmly onto the lid.
- Hold the lid closed and mark where the turn button latch’s base plate aligns on the enclosure’s front frame.
- Attach the latch base plate to the frame, then test the swing of the turn button over the hinge.
- Ensure the latch clicks into place securely; adjust screw tightness if needed.
For extra security with powerful species, I add a secondary barrel bolt at the back. Regular monthly checks of all locks and hinges prevent mechanical failure and ensure your tarantula’s world remains safely contained.
Ongoing Monitoring and Maintenance for Safety
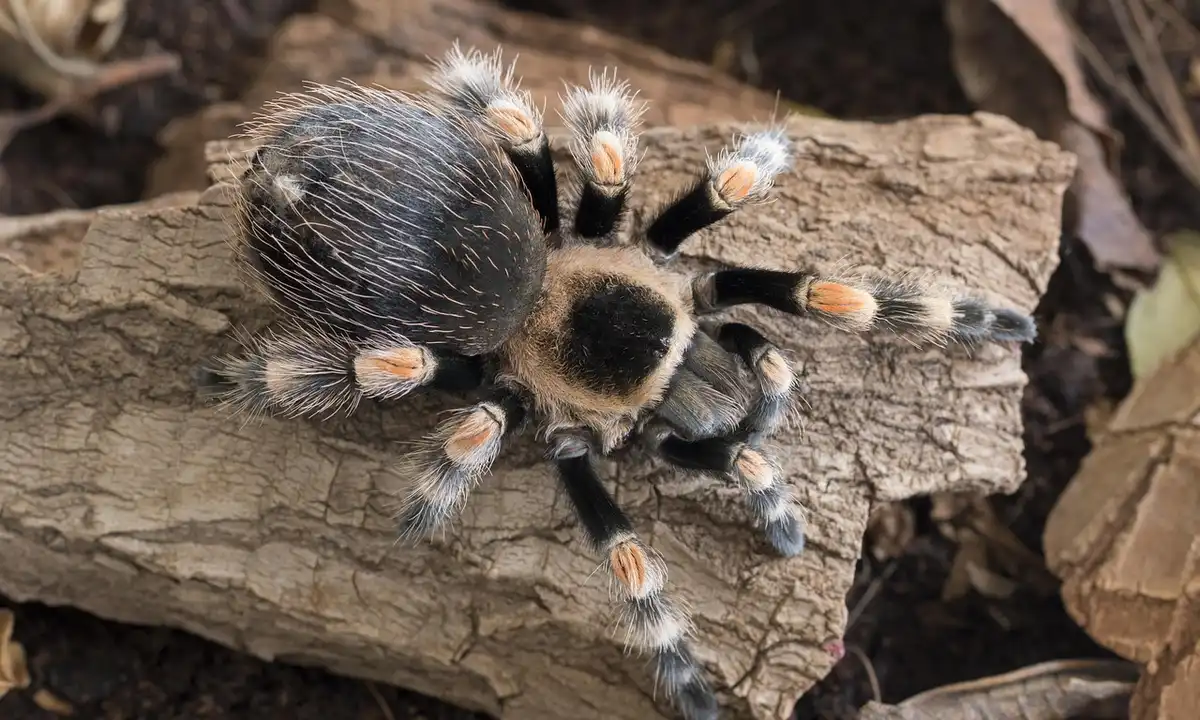
Routine Inspection of Vents and Seals
Your tarantula’s enclosure is a dynamic system, not a set-and-forget box. I check every enclosure in my collection weekly, running a finger around vent edges and lid seals. This tactile inspection reveals hairline cracks in plastic, loose mesh, or accumulated substrate that silently chokes airflow. If you notice a musty smell, mold growth, or excessive substrate buildup, it’s a clear sign the enclosure needs cleaning. Regularly assessing these cues helps maintain your tarantula’s health. For my heavy-bodied Goliath, I press lightly on the acrylic panels to ensure no flex has weakened the silicone seals over time.
Use a small, dry brush to clear vent holes of webbing and dirt. Flash, my OBT, routinely plasters over ventilation with dense silk, which I gently remove during feedings to maintain his cross-ventilation. Monthly, I perform a deeper check: removing the tarantula to a secure holding cup so I can inspect the interior sealant for any peeling or water damage. A compromised seal is an open invitation for mold and mites. These checks help prevent common tarantula health problems, such as mold growth, mite infestations, and molting issues. Maintaining good ventilation and a solid seal supports their overall health.
Here is a simple routine to follow:
- Weekly: Visual and tactile check of all vents, lids, and door seals.
- Bi-weekly: Clear vent blockages with a soft brush or compressed air.
- Monthly: Full security audit, including interior seal integrity and hinge strength.
Recognizing Signs of Poor Ventilation
Stagnant air has a distinct, faintly sweet odor of decay that is your first clue. Look for persistent condensation on walls away from the water dish, or a fuzzy, white mold bloom on damp substrate. Your tarantula’s behavior often shouts what the environment whispers; a specimen constantly pressed against the glass farthest from vents may be seeking fresh air or indicating excess moisture in the enclosure.
I learned this with Rosie, my rose hair. During a humid spell, her typically dry substrate stayed damp for days, and she refused to eat. Only after I enlarged her ventilation did her normal, “pet rock” demeanor return. Chronic poor ventilation stresses the respiratory system and can lead to fatal mycosis, a fungal infection. Act immediately if you see these signs.
- Persistent condensation or water beads on enclosure walls.
- Visible mold growth (white, green, or black fuzz) on cork or substrate.
- A musty, unpleasant smell when the lid is opened.
- Tarantula consistently clustering near or away from ventilation points.
Species-Specific Strategies and Final Precautions
Accounting for Behavior: Slings, Climbers, and Powerhouses
Ventilation is not one-size-fits-all. A spiderling’s tiny enclosure needs fine mesh or micro-holes to prevent escape while allowing airflow. For juvenile arboreal species, prioritize cross-ventilation on opposite sides to create a gentle draft they evolved with in trees. My old world tarantulas, like Flash, receive ample upper-level ventilation to disperse humidity from their water dishes and prevent stagnant pockets in their heavy webbing.
Compare my two terrestrials: Rosie needs minimal humidity and ample dry air flow, while Goliath requires a humid, stuffy atmosphere. His enclosure has lower ventilation to retain moisture, but I use a digital hygrometer to ensure it never becomes swampy. Large, powerful species can test physical security; Goliath’s sheer weight has shifted poorly-fitted lids, so his locks are non-negotiable. Tailor your approach.
- Spiderlings (Slings): Use fine stainless steel mesh or drilled holes (smaller than the carapace). Monitor for dehydration.
- Arboreal Climbers: Implement cross-ventilation. Ensure vents are flush to prevent toe-hold escapes.
- Heavy-bodied Powerhouses: Reinforce lid clips or locks. Balance ventilation with humidity needs-often lower vents work best.
Securing the Enclosure from External Intrusion
The world outside the enclosure can be as dangerous as faults within. A curious cat, a slamming door, or a curious child can topple a tank. I use aquarium-grade silicone to attach small, rubber bumper feet to the bottom of all my enclosures, damping vibrations. Place enclosures on stable, low-traffic shelves, never on wobbly stands or in direct sunlight, which can warp plastic and compromise seals.
For my defensive and fast OBT, Flash, I employ a dual-locking system: front-opening doors with a childproof pin and a secondary magnetic clip. This “look, don’t touch” philosophy extends to protecting them from our world; a secure enclosure is a calm tarantula. After a past scare where a housekeeper nearly knocked over Rosie’s tank, I now use museum putty to secure lightweight enclosures to their surfaces.
Final security checklist:
- Test all locks and clips weekly under light pressure.
- Ensure no cables or curtains can entangle or pull on the enclosure.
- Educate everyone in the home about the no-touch rule and the fragility of the habitat.
- Keep enclosure keys or tools in a consistent, separate location from the tank.
FAQs
How to prevent the tarantula from escaping through ventilation holes?
The key is to ensure the hole diameter is smaller than the tarantula’s carapace (the hard upper shell). For spiderlings, use holes under 2mm, and for most adults, 3-5mm is safe. Always cover the holes with stainless steel mesh, securely glued on the *inside* of the enclosure with aquarium-safe silicone. This prevents the tarantula from prying or chewing at the edges of the mesh from the outside. Being mindful of these details helps avoid common tarantula enclosure setup mistakes, such as oversized holes or loose mesh. Regular checks to ensure hole sizes and seal integrity are essential for safe housing.
How to balance ventilation and humidity?
Balance is achieved by strategically placing and limiting the number of vents. For moisture-dependent species, concentrate ventilation in the upper half or on just one side of the enclosure to trap humidity low in the substrate. For arid species, implement ample cross-ventilation on multiple sides. You can actively manage this by partially covering some vents with tape or acrylic sheeting to fine-tune the air exchange and stabilize your humidity readings.
How often should ventilation be checked or cleaned?
Perform a visual and tactile check of all vents and seals during your weekly maintenance routine. Gently clear holes of webbing or debris with a soft, dry brush. A full security and integrity audit, including checking the interior silicone around vents, should be conducted monthly, ideally when the tarantula is safely in a holding cup for a deeper enclosure cleaning.
What are the signs of poor ventilation?
Persistent condensation on walls not near the water dish, a constant musty or sweet odor of decay, and visible mold growth on decor or substrate are clear warnings. Behavioral clues include a tarantula that is consistently positioned directly against ventilation holes or, conversely, crowded into the corner farthest from airflow, which may indicate it is seeking fresher air.
What types of lids are most secure?
Solid acrylic or glass lids with mechanically drilled holes are superior to standard screen tops. These materials don’t rust or warp easily and provide no footholds for escape. For front-opening enclosures, ensure doors have a tight seal and a reliable locking mechanism. A well-fitted lid should close with a definitive seal and have no visible gaps when shut.
How to child-proof or pet-proof an enclosure?
Use enclosure locks that require dexterity to open, such as cabinet turn latches or magnetic childproof locks. Secure the entire enclosure to a stable, low-traffic shelf using museum putty or similar adhesive to prevent it from being knocked over. Educate household members on the importance of not tapping the glass or attempting to open the habitat.
Long-Term Success
In my fifteen years with Rosie, Goliath, and Flash, one principle stands above all: your enclosure must have balanced, cross-ventilation to manage moisture and prevent stagnant air, which is more critical to health than any single humidity percentage. A secure, snug-fitting lid is its inseparable partner; a failed latch once allowed my orange bolt, Flash, a brief, frantic tour of my bookshelf.
Once ventilation and security are mastered, the real joy begins. Sit back and observe the patient architecture of a web, the deliberate sculpting of a burrow, the silent ambush. Tarantula keeping is a practice in patient observation. Your reward is witnessing a confident animal express its natural behaviors in a home you’ve thoughtfully crafted. If you’re new to this, understanding what tarantulas are is a crucial first step.
Further Reading & Sources
- Choosing the Perfect Tarantula Enclosure-6 Considerations
- Amazon.com: AZV Jumping Spider Enclosure Kit,Escape Proof Praying Mantis Habitat,Arboreal Tarantula Cribs with Magnetic Door Ventilation Spider House,Full Transparent Acrylic Reptile Tank,Snail Cage Bug Terrarium : Toys & Games
- What is appropriate ventilation? | Arachnoboards
Arlo is a lifelong arachnid enthusiast who believes tarantulas are the world’s most misunderstood roommates. With years of hands-on experience in tarantula care, habitat setup, and species behavior, Arlo combines expert knowledge with a dash of humor to make spider ownership less scary and a lot more fascinating. From choosing the right enclosure to understanding why your eight-legged buddy is doing that weird little pose again, Arlo is here to help you become the best tarantula parent you can be, without getting tangled in the web of misinformation.
Enclosures and Sizes