
The Careful Sweep: How to Deep Clean a Tarantula Enclosure Safely
To the dedicated keeper, a tarantula’s enclosure is a living snapshot, a carefully curated biome of substrate, water, and silk that we maintain with quiet diligence. A full, deep clean is a rare but necessary husbandry event, fundamentally different from the weekly spot-cleaning of boluses and water dish refills. This guide is for that moment-when substrate replacement is required due to mold or mites, or when you are preparing a new, permanent home for a growing spider. We will walk through a methodical, low-stress process that prioritizes your tarantula’s safety and your own.
Quick Facts:
- Frequency: Rare; often annually or less, depending on species and enclosure health.
- Primary Risk: Stress to the tarantula and potential for escape during transfer.
- Core Principle: The spider’s safety is paramount; the goal is a sterile reset of its environment.
- Key Tools: A secure catch cup, long soft-tipped tweezers, and a pre-prepared new enclosure.
I promise this step-by-step guide will transform a potentially nerve-wracking task into a calm, controlled procedure, ensuring your tarantula transitions back into a pristine habitat with minimal disruption.
When and Why to Deep Clean Your Tarantula Enclosure
Regular spot-cleaning removes boluses and waste, but a full deep clean resets the entire environment. This process is invasive and stressful for your tarantula, so it should only be undertaken when the benefits outweigh the disruption. I reserve deep cleans for true hygiene emergencies or major enclosure upgrades.
Identifying Signs of a Necessary Deep Clean
Your tarantula’s home will tell you when it needs help. Look for these specific, often unmistakable, signals.
- Visible Mold or Fungus Blooms: White, green, or fuzzy patches on damp substrate or decor signal excess moisture and decay. My Burgundy Goliath’s enclosure, with its high humidity needs, once developed a faint white mold on a cork hide-a clear call to action.
- Pest Infestations: An explosion of springtails is fine, but mites or fungus gnats indicate a problem. Grain mites look like moving dust near leftover prey.
- Persistent Foul Odor: A healthy tarantula tank smells like damp earth. A sour, rotten smell often means a buried, forgotten prey item or severe bacterial growth.
- Heavy Urticating Hair Contamination: For species like my Goliath, kicked hairs can coat everything. If the substrate is densely layered with them, a full change protects your spider and your lungs.
- Substrate Breakdown: Over many months, coconut fiber or soil compacts and loses its structure, becoming muddy or ammonia-rich.
I learned the hard way with Flash, my OBT; a neglected bolus led to a mite outbreak, requiring a full, careful teardown of his intricate web fortress.
Determining Your Cleaning Schedule
There is no universal calendar. Your schedule depends on three factors: species biology, enclosure design, and your own eyes.
- Species-Specific Needs: Moisture-dependent spiders like Theraphosa stirmi need more frequent substrate changes, perhaps yearly, to prevent mold. Dry species like Grammostola rosea can go several years if spot-cleaned.
- Enclosure Type: Bioactive setups with clean-up crews require far fewer deep cleans. Sterile, simple enclosures need them more often.
- The Observation Rule: Let the signs above guide you, not a date on the calendar. Check during regular feedings. Rosie’s bone-dry tank has needed only one deep clean in a decade.
Rushing a deep clean without cause stresses the animal for your convenience, contradicting respectful care. Plan this around your tarantula’s pre-molt and post-molt periods, avoiding any disturbance when they are vulnerable.
Gathering Your Safe Deep Cleaning Supplies
Preparation is everything. Having all tools ready before you even open the enclosure prevents frantic searches and reduces the time your tarantula is in transit.
A calm, methodical approach with the right tools minimizes risk for you and panic for your spider.
Essential Tools and Containers
Think of this as a surgeon’s kit. Every item has a purpose.
- Primary Capture Cup & Soft Brush: A clear plastic deli cup and a gentle paintbrush are your most important tools. I use the brush to gently guide bolting spiders like Flash into the cup without contact.
- Secure Temporary Housing: A small, ventilated kritter keeper with a little substrate and a water dish. Test the lid first!
- Disposable Gloves: Nitrile gloves protect you from urticating hairs and vice versa.
- Substrate Scoops and Trowels: Dedicated tools for removing old substrate.
- Long Hemostats or Tweezers: For safely removing boluses and old decor.
- Newspaper or Trash Bag: To contain the mess on your work surface.
I always prepare two escape-proof containers after an incident where Rosie decided to explore my desk during a rehousing. One is for the spider, and a backup is for immediate capture if needed.
Choosing Non-Toxic Cleaning Agents
The enclosure itself must be stripped of all biological material and sanitized. Harsh chemicals are a profound danger.
- White Vinegar Solution (1:1 with water): My absolute go-to. It’s a mild acid that cuts grime, dissolves mineral deposits from water dishes, and kills many microbes without toxic residue. Rinse thoroughly.
- Hot Water and Diluted Dish Soap: For very dirty plastic or glass. Use a fragrance-free, simple soap. Scrub, rinse, and rinse again until no suds remain.
- Isopropyl Alcohol (70%): Effective for spot-disinfecting tools like hemostats between uses, but it must fully evaporate before anything touches the enclosure again.
Never use bleach, ammonia-based cleaners, or commercial sprays near tarantula supplies; their residues can be fatal through contact or fumes. After cleaning, air-dry the enclosure completely for 24 hours before adding new substrate. The silence of an empty, clean tank is the sound of a fresh start. When selecting a substrate, consider the best substrates for tarantula enclosures like breathable, moisture-retentive options such as coconut fiber or coco coir, and avoid pine or cedar. Regularly refresh or replace substrate to maintain proper humidity and cleanliness in the enclosure.
Safely Removing Your Tarantula from the Enclosure
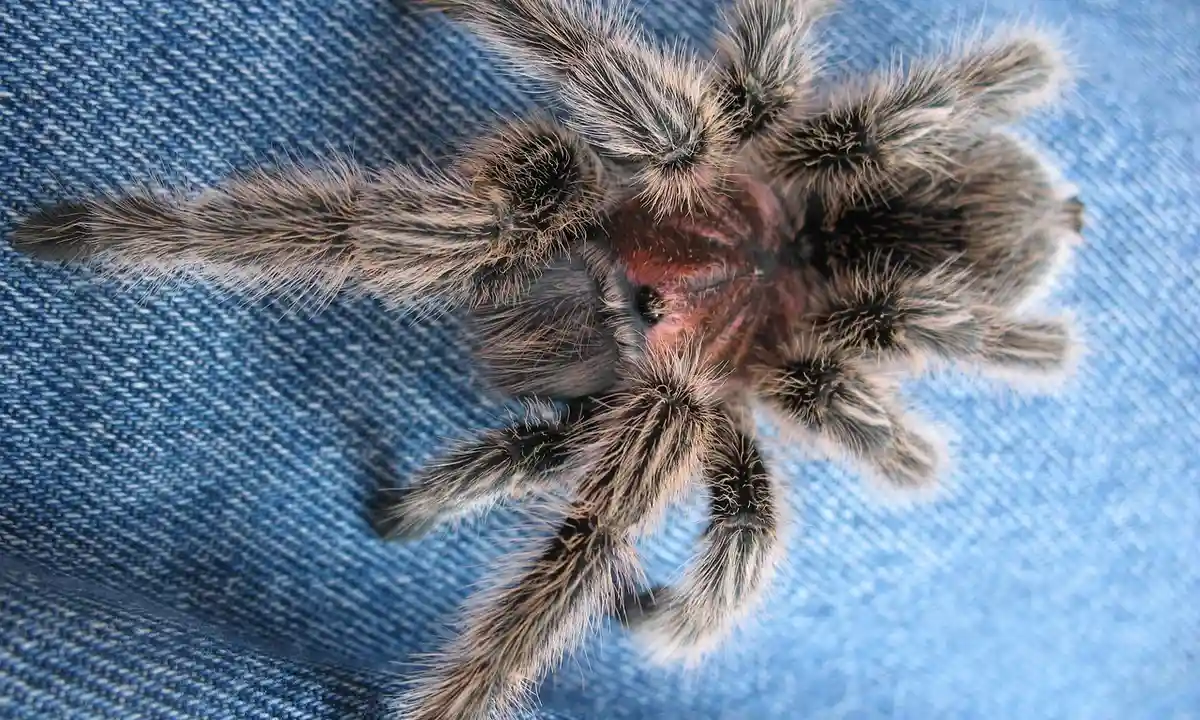
This initial step is the most critical for both your safety and the spider’s well-being. A rushed removal risks a bite, a lost tarantula, or immense stress that can lead to refusal to eat or even a fatal fall. Always work over a large, open bin to contain any falls or sudden sprints.
Preparing a Secure Temporary Holding Area
Before you even open the main enclosure, have your temporary space ready. I use a simple, clear plastic container with multiple small ventilation holes punched in the lid. The container should be just large enough for the tarantula to sit comfortably without room to build up speed for a jump. Line the bottom with a slightly damp paper towel for secure footing and include a small, empty toilet paper tube if the transfer may take a while, offering a dark hide to reduce anxiety. This setup is especially useful when transporting and rehousing your tarantula.
From personal misadventures, I learned the hard way with Flash, my OBT. A container deemed “secure” had a lid I didn’t press fully shut. The ensuing five-minute chase across my desk was a heart-pounding lesson in double-checking every seal. Always test the holding container by gently shaking it upside down over your workspace to confirm nothing shifts or opens.
Gentle Transfer Techniques for Different Personalities
Your method must adapt to your tarantula’s temperament. Forcing a technique that works for a docile species on a defensive one is asking for trouble.
- For the Docile ‘Pet Rock’ (Like my G. rosea, Rosie): Use a soft, long-handled paintbrush to gently guide them. Touch a rear leg and they will usually walk forward. Have the temporary container open and ready right beside the main enclosure’s door to minimize travel distance.
- For the Hair-Kicker or Skittish (Like my T. stirmi, Goliath): The cup-and-slide method is safest. Use a large deli cup to slowly lower over the tarantula. Then, slide a sturdy piece of cardboard or a lid underneath, fully encapsulating them. This technique keeps urticating hairs contained and prevents the startling visual of a giant hand approaching from above.
- For the Defensive and Fast (Like my P. murinus, Flash): You are not handling; you are herding. Use two long tools, like paintbrushes or plastic tongs, to guide them into a catch cup. Work deliberately and without sudden movements. Their speed is breathtaking, so all your focus must be on controlling the direction of movement, not on catching the animal directly. This is the prime example of “Look, Don’t Touch” in action.
I never use my hands for transfer, even with Rosie. The risk of a fall from even a few inches is too great, and the stress from a giant predator (you) is unnecessary. Successful transfer is measured by a calm tarantula in its temporary home, not by a dramatic capture.
Handling and Replacing the Substrate
With your tarantula secure, you can now focus on the enclosure itself. Look for signs that the enclosure needs cleaning—odor, mold, buildup, or pest activity are clues. Recognizing these signs helps you decide when a cleaning is due. A deep clean is your chance to reset the entire micro-environment, removing waste, mold spores, and mite populations.
Complete Removal of Old Substrate and Debris
Empty every bit of old substrate into a trash bag. Use a plastic spoon or scoop to get into corners and under any fixed decor. Inspect for and remove any boluses (inedible prey parts), leftover feeder insects, and most importantly, any old molt fragments. Leaving a molt behind can confuse the tarantula and may attract pests.
- Remove all decorations, bowls, and hides.
- Discard all old substrate immediately to avoid contaminating your workspace.
- Wash the empty enclosure with hot water only. Do not use soap or chemical cleaners, as residues can be lethal.
- Scrub decor with water and a dedicated brush, and allow everything to air-dry completely.
This is also the perfect time to examine the tank for cracks or compromised ventilation. A thorough wipe-down eliminates the invisible buildup that simple spot-cleaning misses.
Selecting and Preparing New Substrate
Your substrate choice is a direct husbandry tool for managing humidity and burrow stability.
- For Arid Species (G. rosea, P. murinus): Use a dry, sandy soil mix or plain coconut fiber. I use a deep layer of coco fiber for Flash, which supports his extensive tunneling without holding excess moisture.
- For Humidity-Dependent Species (T. stirmi, Theraphosa spp.): A moisture-retentive mix is vital. I combine coconut fiber, peat moss, and a handful of sphagnum moss for Goliath’s enclosure. The substrate should be damp enough to clump without dripping water, typically achieved with a 1:1 ratio of dry substrate to water by volume.
To prepare, mix your substrate in a large bucket, adding water gradually until the desired consistency is reached. For a bioactive setup, this is when you would add clean-up crew organisms like springtails. Always pack the new substrate down firmly to prevent cave-ins, especially for heavy-bodied tarantulas like Goliath. The depth should allow for natural behavior; for burrowers, provide at least 1.5 times their leg span in depth.
Cleaning and Sanitizing Tank Decorations and Surfaces
Once the substrate is replaced, your attention must shift to the tank’s hardscape. Proper cleaning removes harmful bacteria and mold spores without introducing toxic residues that could sicken your tarantula. I use a dedicated sink or tub, never the kitchen sink, to avoid cross-contamination.
Scrubbing and Disinfecting Hides and Water Dishes
All decorations and dishes require a two-stage process: mechanical scrubbing followed by safe disinfection. Hot water and a dedicated, stiff-bristled brush are your first line of defense against organic waste. For disinfecting, I rely on one of two solutions, followed by an obsessive rinse cycle.
- White Vinegar Solution: Mix one part white vinegar with three parts warm water. It’s excellent for general disinfection and cutting through grime.
- Diluted Bleach Bath: For more concerning bio-waste, a 10% bleach solution (1 part bleach to 9 parts water) is effective. This is my go-to for items from my T. stirmi Goliath’s enclosure, given the constant high humidity near 80% that promotes biofilm.
Scrub items thoroughly in your chosen solution, then comes the critical step. Rinse every piece under running water for a full 60 seconds, ensuring no chemical scent remains. Let all items air-dry completely before returning them. I learned this the hard way when a slightly damp hide caused a localized mold outbreak in a sling enclosure.
Addressing Stubborn Stains or Mineral Deposits
Mineral rings on water dishes or dried waste on cork bark need extra effort. For hard water stains, submerge the dish in undiluted white vinegar for 30 minutes; the deposits will wipe away easily. For persistent organic stains on porous wood or ceramic, make a paste of baking soda and water, apply it, and let it sit before scrubbing.
With heavily webbed species like my P. murinus Flash, decorations can be fused with silk. Never rip webbing off decorations; instead, gently roll the item to loosen the strands or use small scissors for careful trimming. Preserving some scent-filled silk can actually help ease the tarantula’s transition back home.
Reassembling the Enclosure for a Stress-Free Return
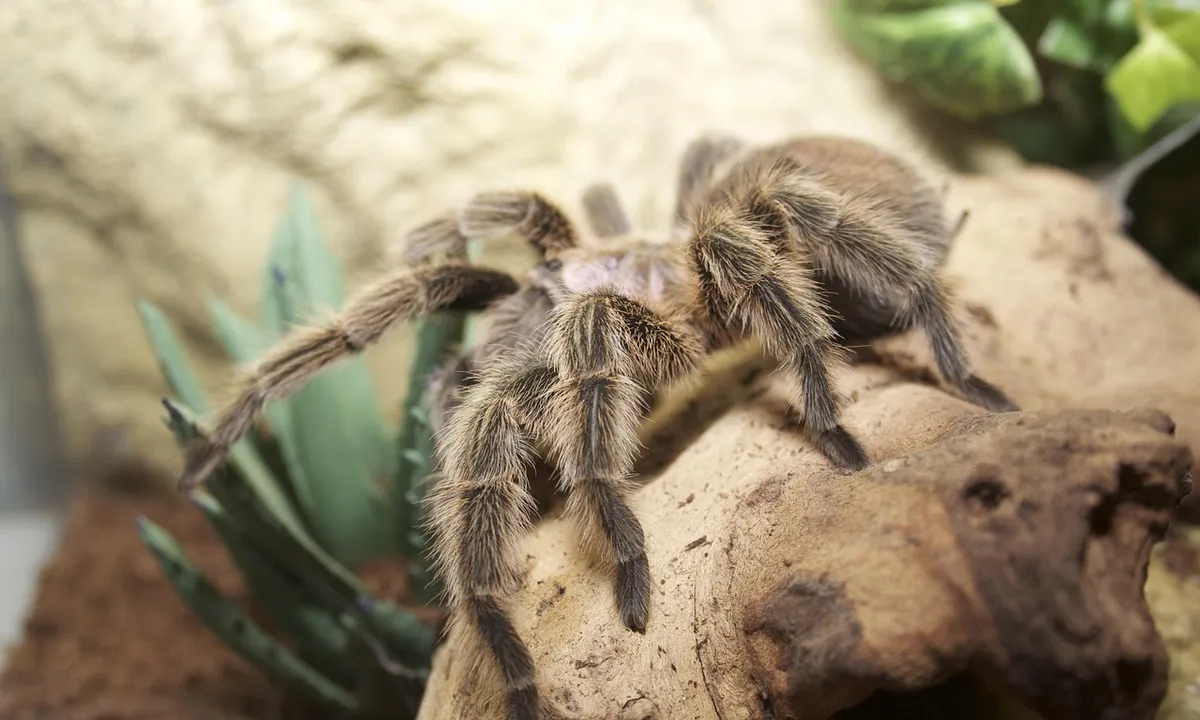
The final act is a careful reconstruction. Your goal is to create a clean, secure environment that still smells and feels like home to reduce relocation stress. A stressed tarantula may fast, like my G. rosea Rosie, or bolt unpredictably.
Recreating a Familiar Layout
Tarantulas map their world through vibration and touch. I always take a quick photo of the enclosure before dismantling it to replicate the spatial arrangement precisely. Place the hide in the exact same orientation and location. Firmly pack the substrate to the previous depth, which is critical for burrowers.
- For arid species (G. rosea): Keep decor minimal and ensure the substrate is dry, with a water dish placed as before.
- For humid species (T. stirmi): Re-moisten the substrate to that species’ requirement and position humidity-loving plants or sphagnum moss in familiar clumps.
- For heavy webbers (P. murinus): Anchor anchor points like branches or fake leaves where the previous web was attached to encourage rebuilding.
Guiding Your Tarantula Back Home
This is the moment for utmost patience and respect. I strictly adhere to a ‘Look, Don’t Touch’ policy during rehousing, using tools rather than my hands. Direct handling risks falls, bites, and stressful flicking of urticating hairs.
- Ensure the clean enclosure is fully assembled with the lid close by.
- Using a large, soft paintbrush, gently guide your tarantula from its temporary holding cup toward the enclosure entrance. For faster species, I use a two-cup method, coaxing them from one transparent deli container to another.
- Allow the tarantula to walk out onto the new substrate on its own. Never drop or tip it in.
- Immediately secure the lid. Observe quietly for a few minutes to ensure it settles.
After the deep clean, expect your tarantula to be cautious. It may spend days rearranging substrate or webbing, a normal and reassuring sign it is reclaiming its territory. Offer water, but wait a week before attempting to feed to let it fully acclimate to its refreshed, safe home—similar to when you first brought it in during those initial 24 hours.
Avoiding Common Cleaning Pitfalls and Toxic Hazards
Cleaning a tarantula enclosure is not like scrubbing a fish tank or a hamster cage. Their respiratory systems are incredibly sensitive, and their world is defined by scent and touch. One misstep with a chemical product can lead to respiratory distress, neurological damage, or a slow, unseen decline in your spider’s health. I learned this early on when a faint, residual cleaner scent near Rosie’s (my G. rosea) enclosure caused her to seal her burrow entrance for a week—a clear sign of stress. Dangerous household products for tarantulas—bleach, ammonia, air fresheners, and scented cleaners—are particularly risky around tarantula tanks. Even small residues can irritate or distress a tarantula’s sensitive habitat; avoid using them near or on the enclosure.
Products and Practices to Absolutely Avoid
Your goal is to remove waste and mold, not to sterilize the environment. Tarantulas are not sterile creatures; they thrive in a bioactive balance. Never use commercial household cleaners, especially aerosols, inside or even near a tarantula’s living space. The fragrances and volatile compounds are toxic to their book lungs. Always handle and quarantine a tarantula properly during enclosure cleaning to ensure its safety.
Here is a list of common items that have no place in tarantula husbandry:
- Glass cleaners, all-purpose sprays, and disinfectant wipes: Ammonia, alcohols, and synthetic perfumes can cling to surfaces and vaporize into the air your tarantula breathes.
- Soaps and detergents: Even a tiny, invisible residue can irritate a tarantula’s delicate tissues if they walk through it and then groom their feet.
- Bleach or vinegar solutions: While sometimes cited for sterilizing empty tanks, the risk of incomplete rinsing is too high. I never use them, even on empty enclosures, opting for simpler, safer methods.
- Pesticides or insect repellents: This includes spraying for flies in the same room. I once lost a precious sling after a minor ant problem was treated near my tarantula room-a heartbreaking lesson in cross-contamination.
The practice is just as critical as the product. Always remove the tarantula to a secure, temporary holding container before you start any deep clean. Attempting to clean around a defensive species like my OBT, Flash, is an invitation for an escape or a stressful confrontation for the animal.
Ensuring Proper Airflow and Complete Drying
After rinsing with hot water and scrubbing with a dedicated sponge, the drying phase is non-negotiable. A damp corner or a moist piece of cork bark can become a breeding ground for mold spores in just 24 hours. Mold inhalation is a silent killer for tarantulas.
I use a strict, three-step drying ritual after every deep clean:
- Pat-dry all surfaces with fresh, unscented paper towels. I meticulously dry the silicone seams in glass tanks, where water loves to hide.
- Air the enclosure in a well-ventilated area away from direct sunlight. I place it near a ceiling fan on a low setting for at least two hours. For my T. stirmi Goliath’s humid tank, I might use a small, battery-powered fan pointed across the open top to circulate air without creating a draft directly inside.
- The “check and double-check” test. I run my hand along all interior surfaces and smell the enclosure. It should feel bone-dry and have no earthy or musty odor. Only then is it ready for new substrate.
Proper airflow isn’t just for drying; it’s for life. Stagnant, humid air from a poorly dried tank can suffocate a tarantula as surely as any chemical. Even for moisture-dependent species, cross-ventilation is key to preventing fungal blooms. Your spider’s home should smell like fresh earth after a cleaning, not like a wet basement. This topic connects to the 5 biggest humidity ventilation mistakes tarantula care often makes, which we’ll cover next. By avoiding these pitfalls, you can keep humidity balanced without sacrificing airflow.
FAQs
How often should you deep clean a tarantula tank?
Deep cleaning is a rare event, typically done annually or even less frequently for many species. The schedule is not calendar-based but determined by specific signs in the enclosure, such as mold or pest infestations. Arid species may go years without a full clean, while moisture-dependent ones might need it more often to prevent fungal growth.
What supplies are needed for a safe deep clean?
Essential tools include a secure catch cup, a soft paintbrush for gentle guidance, and an escape-proof temporary holding container. You will also need long tweezers, disposable gloves, substrate scoops, and non-toxic cleaning agents like white vinegar. Having everything prepared before you start is crucial for a smooth, low-stress process.
How do you safely remove the tarantula from its enclosure?
Always work over a contained area and use tools, never your hands. For docile tarantulas, gently guide them into a cup using a soft brush. For defensive or fast species, use a cup-and-slide method to safely contain them without direct interaction. The primary goal is a calm transfer that minimizes stress and the risk of escape. For more detailed instructions, learn how to safely handle and hold your pet tarantula.
What is the best way to clean and disinfect tank decorations?
Scrub all items with hot water and a dedicated brush first. For safe disinfection, use a solution of one part white vinegar to three parts water, then rinse thoroughly under running water for at least 60 seconds. Allow every piece to air-dry completely before returning it to the enclosure to prevent mold.
How do you reassemble the tank to minimize stress for the tarantula?
Recreate the enclosure’s previous layout as closely as possible, using a photo for reference, to provide familiar landmarks. Firmly pack the new substrate to the correct depth for burrowing species. Finally, gently guide your tarantula back inside using a brush, allowing it to walk in on its own before securing the lid. For more detailed guidance, visit our enclosure setup guide.
The Final Molt: Cultivating a Lasting Habitat
For the long-term health of your tarantula, the most critical rule after a deep clean is to minimize further disruptions and let the animal re-establish its sense of security on its own terms. A truly successful rehousing is measured in weeks and months of quiet observation, not in a sterile, showroom-perfect enclosure. After a molt, post-molt tarantula care means a calm, disturbance-free recovery as the new exoskeleton hardens. Keep handling to a minimum and maintain stable conditions until it resumes normal activity.
Watch as your tarantula’s personality re-emerges. My old G. rosea, Rosie, will spend weeks barely moving after a substrate change, a master of stillness. In contrast, my OBT, Flash, will feverishly lay down new silk matting within hours, a vibrant orange architect reclaiming her space. This patient watching is the heart of the hobby. You are not just maintaining a container; you are stewarding a complex, sensitive life that expresses its well-being through subtle, fascinating behaviors.
Further Reading & Sources
- How to Clean a Tarantula’s Habitat: 10 Steps (with Pictures)
- r/tarantulas on Reddit: How often do you clean your tarantula enclosures?
- How To Clean A Tarantula Cage (Tutorial + Supply List)
Arlo is a lifelong arachnid enthusiast who believes tarantulas are the world’s most misunderstood roommates. With years of hands-on experience in tarantula care, habitat setup, and species behavior, Arlo combines expert knowledge with a dash of humor to make spider ownership less scary and a lot more fascinating. From choosing the right enclosure to understanding why your eight-legged buddy is doing that weird little pose again, Arlo is here to help you become the best tarantula parent you can be, without getting tangled in the web of misinformation.
Enclosures and Sizes