
How to Safely Transport and Rehouse Your Tarantula
Published on: February 22, 2026 | Last Updated: February 22, 2026
Written By: Arlo
For a tarantula keeper, moving your spider is the single greatest moment of shared vulnerability, where your planning meets their primal instinct to bolt or bite. This guide isn’t about convenience; it’s a methodical protocol for minimizing stress and risk for both you and your eight-legged charge, born from years of managing everything from a docile Chilean Rose Hair to a lightning-fast Orange Bitey Thing.
- Quick Stats:
- Origin: Global (A universal husbandry skill)
- Type: Applies to both New World (urticating hairs) and Old World (speed/venom) species
- Growth Rate: Irrelevant – all sizes and ages require a plan
This guide will take you from the pre-move checklist to the final, gentle release, ensuring you can navigate this high-stakes ritual with confidence and calm precision.
Preparing Your Tarantula and Supplies for Transport
The most critical phase of a move happens before you ever open the old enclosure. A rushed rehousing invites disaster; a prepared one is a calm, clinical procedure. Your first task is a visual health and behavior check of your tarantula through the glass.
Look for a plump, shiny abdomen, which indicates good hydration. Check that all limbs are intact. Most importantly, assess its molt status. A tarantula in pre-molt will often refuse food, become lethargic, and may spin a thick mat of silk on the substrate. My old G. rosea, Rosie, will famously not eat for eight months prior to a molt and hides in her burrow. Moving a tarantula in pre-molt can cause a failed, fatal molt. If you see a dark, bald spot on the abdomen, postpone the move. These signs are among the 10 key signs your tarantula is about to molt. Recognizing them helps you time handling and care to minimize stress and avoid mistakes.
Essential Tools for the Job
Gather your tools on a clean, wide, flat surface. Never work over carpet where a fast spider can vanish. Your kit should include:
- Soft Paintbrushes: For gently guiding docile terrestrial species. I use a 1-inch wide brush.
- Long Forceps (12+ inches): For manipulating cage decor and creating distance with defensive specimens.
- Multiple Clear Catch Cups: Sturgeon deli containers or plastic food storage cups are perfect. Have a larger primary cup and a smaller one to use as a lid.
- Powder-Free Nitrile Gloves: Primarily to protect your hands from urticating hairs, not venom.
- Paper Towels: For quick clean-ups and to dampen for moisture in transit.
Plan the move for the evening or very early morning hours when the house is quiet and the tarantula is naturally more alert. A calm environment minimizes startling vibrations that can send your pet bolting for the nearest dark crevice. I learned this the hard way trying to rehouse my P. murinus, Flash, during the day; one buzz of a phone was all it took for a lightning-fast escape that took an hour to resolve.
Finally, a non-negotiable rule for any new tarantula: quarantine. Keep any newly acquired tarantula in its simple transport container or a basic temporary enclosure for 30-60 days, away from your existing collection. This prevents the potential spread of mites, nematodes, or pathogens to your established pets. Observe its feeding, behavior, and waste during this period before investing in a permanent, complex setup. Proper quarantine procedures are vital to ensure the health of your entire collection, so make sure to follow them diligently.
Selecting and Securing the Ideal Transport Container
The temporary container is a safe room, not a prison. Its purpose is to provide secure, stress-free confinement for minutes or weeks. Choose a container with rigid, clear walls so you can always see your tarantula’s position without opening the lid.
Container Options and Key Features
Common choices include plastic deli cups, small food storage containers with snap-tight lids, or dedicated small animal carriers. I prefer clear, round deli cups for most of my tarantulas. The key features are universal:
- Secure Lid: A snap-tight or screw-top lid is mandatory. Flimsy press-on lids are escape routes.
- Adequate Ventilation: Use a soldering iron or heated nail to melt small air holes in the lid and upper sides. Do not create rough edges it could injure itself on.
- Appropriate Size: The container should be just large enough for the tarantula to sit comfortably without being able to gain momentum for a dangerous fall. For large theraphosids like my T. stirmi, Goliath, I use a 64-ounce container.
Securing the Container and Adding Comfort
Your tarantula is an expert at finding weakness. Once the animal is inside, take extra security steps. Run a strip of packing tape around the seam where the lid meets the base, or secure it with a robust elastic band. This prevents a powerful spider from popping the lid open during travel. This is a common tarantula enclosure setup mistake to avoid. For ongoing housing, use a secure, purpose-built lid with reliable locking mechanisms rather than tape or elastic bands.
For species requiring specific humidity, like moisture-dependent burrowers, a simple adjustment increases safety. Line the bottom of the container with a single, slightly damp (not wet) paper towel. This provides a secure footing and a microclimate of humidity, preventing dehydration during a longer journey. For arid species, use a dry paper towel or nothing at all.
Maintaining Safe Conditions During Transport
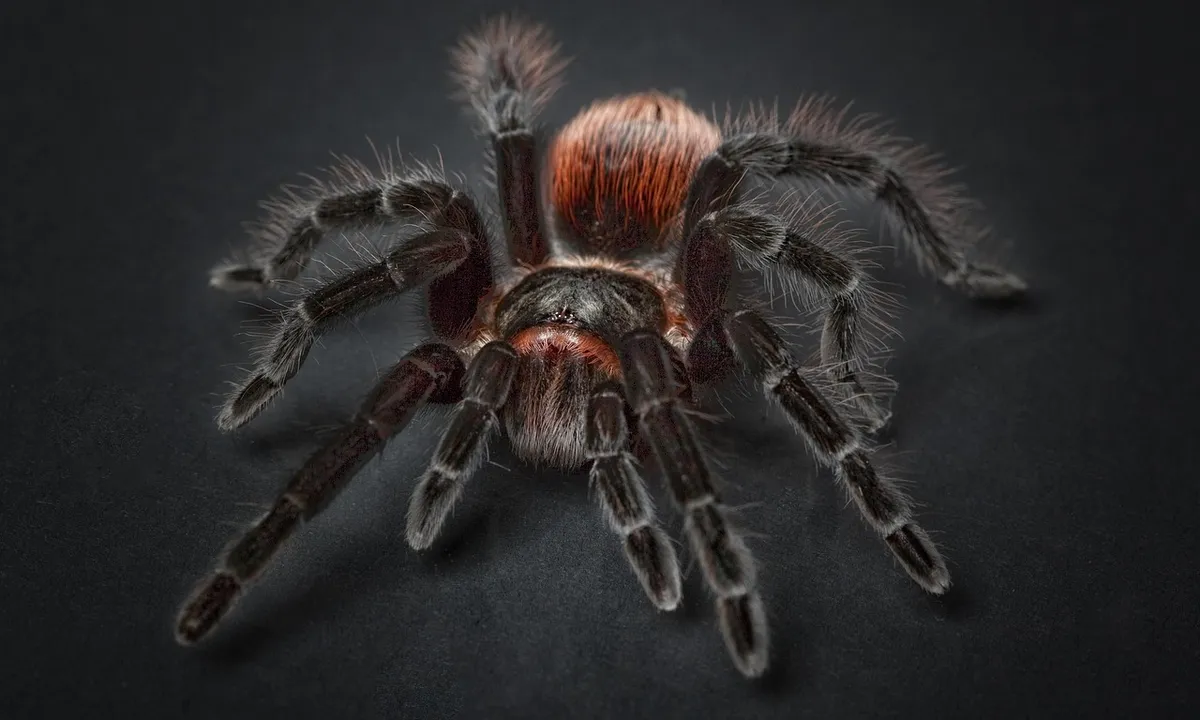
Your tarantula is an ectotherm, relying entirely on you to manage its environment during a move. The goal is to replicate the stable, quiet conditions of its enclosure for the journey’s duration. This includes using appropriate substrates that mimic its natural habitat.
For most species, an ambient temperature between 70-75°F (21-24°C) is ideal. This range prevents metabolic stress from chill or overheating. Critical differences emerge when considering humidity; a transport container for my Burgundy Goliath (T. stirmi) gets a lightly damp paper towel, while my Chilean Rose Hair (G. rosea) travels on bone-dry substrate. Know your pet’s needs: tropical species require dampness, arid ones demand dryness.
- Short Trips (Under 2 Hours): These are generally low-risk. Ensure the carrier is secure and kept level in a dark, quiet part of your vehicle.
- Longer Journeys: Avoid feeding your tarantula for 4-7 days beforehand to prevent abdominal injury from a fall or a messy, stressful regurgitation. Insulate the carrier from extremes using simple methods.
Climate control is about proactive moderation. In cold weather, I place the sealed carrier inside a cooler with a warm (not hot) pack wrapped in a towel, creating a buffer zone against the cold. In heat, never leave the container in a parked car. Keep it on the floor of the air-conditioned cabin, shielded from direct sun and far from blasting heater vents.
Safely Coaxing Your Tarantula into the Carrier
This is the moment of truth. Your calm, deliberate energy is the most important tool you have. Rushing leads to escapes, defensive postures, and stress for both keeper and animal. I always perform rehousings in a large, clear tub to create a safe “arena” should things go sideways.
-
For Docile Tarantulas (e.g., G. rosea):
Gently open the old enclosure. Using a soft, long-handled paintbrush, apply light pressure to the back legs. The aim is to encourage forward movement, not to prod or startle. Guide the tarantula towards the open mouth of your transport container, which should be lying on its side. Often, they will walk calmly inside. You can then slowly right the container and secure the lid.
-
For Defensive or Fast Species (e.g., OBTs, Psalmopoeus):
The catch-cup system is non-negotiable. Have a clear deli cup and a rigid piece of plastic (like a lid) ready. Use long forceps to gently maneuver the tarantula, encouraging it to move where you need it. When it is in an open area, swiftly but smoothly lower the cup over it. Slide the plastic lid underneath, fully trapping it. You have now contained the animal without any chance of contact or a lightning-fast escape. This approach is part of a safe, step-by-step tarantula handling guide for handling and holding your pet tarantula. Always proceed slowly and calmly, and review the full guide if you’re unsure.
This entire process reinforces the “look, don’t touch” philosophy. Handling introduces immense risk of a fall and almost always stresses the tarantula, even if it sits still. Tools like brushes, catch cups, and long forceps are extensions of your will that maintain a safe, respectful distance.
I learned the value of deliberate practice rehousing my OBT, Flash. In a large tub, I used two cups and a deep breath to channel its explosive speed into a controlled sequence of captures. The sudden, orange strike was contained by plastic, not met with my hand. The silence after the lid clicked shut was a victory of preparation over panic.
Setting Up the New Enclosure Before Rehousing
A proper habitat assembled in advance turns a chaotic event into a calm transition. Always prepare the final destination first, ensuring the tarantula spends minimal time in transit.
Core Enclosure Components
Every setup, regardless of species, rests on four pillars. Neglecting one compromises security and welfare.
- Substrate Depth: Provide at least 1.5 times the leg span for terrestrial species. For my moisture-loving T. stirmi Goliath, I use 8-10 inches to retain humidity and support her weight. For obligate burrowers or nervous species, fill the enclosure halfway to allow for tunneling.
- A Secure Hide: A cork bark slab, half-buried flower pot, or commercial cave. It must be snug, with no sharp edges, and offer a dark, enclosed space. Even my pet rock Rosie uses hers right before a molt.
- Water Dish: A shallow, tip-proof ceramic dish. It is not just for drinking; it provides a microclimate and a safety feature if the tarantula falls.
- Cross-Ventilation: Multiple rows of small holes on opposite sides. Stagnant, moist air kills faster than dehydration. Mesh lids can snag claws, so I drill small holes in acrylic or glass instead.
Choosing and Preparing Your Substrate
Substrate is your primary humidity management tool. My collection requires three different mixes.
- Coconut Fiber (Coir): My go-to for tropical species like Goliath. It holds moisture well, resists mold, and is affordable. I buy bricks and hydrate them with dechlorinated water until they achieve a damp, springy feel-clumping but not dripping.
- Peat-Based Mixes: Ideal for arid species like my G. rosea. It stays drier at the surface while holding some moisture in the lower layers. I mix plain, additive-free peat moss with a bit of sand or excavator clay for structure.
- Preparing Dampness: For most species, aim for a substrate that holds its shape when squeezed, with only a bead or two of water visible. An overly wet substrate is a breeding ground for bacteria and mites, a far greater threat than slight dryness.
Acclimation and Bioactive Notes
Once assembled, let the enclosure sit for at least an hour in the room where it will live. This stabilizes temperature and humidity, preventing condensation shock. For a bioactive touch, a culture of springtails added at this stage will establish a cleanup crew for leftover prey and mold. I use them in all my humid enclosures; they are harmless and invaluable.
Executing the Transfer: From Carrier to New Enclosure
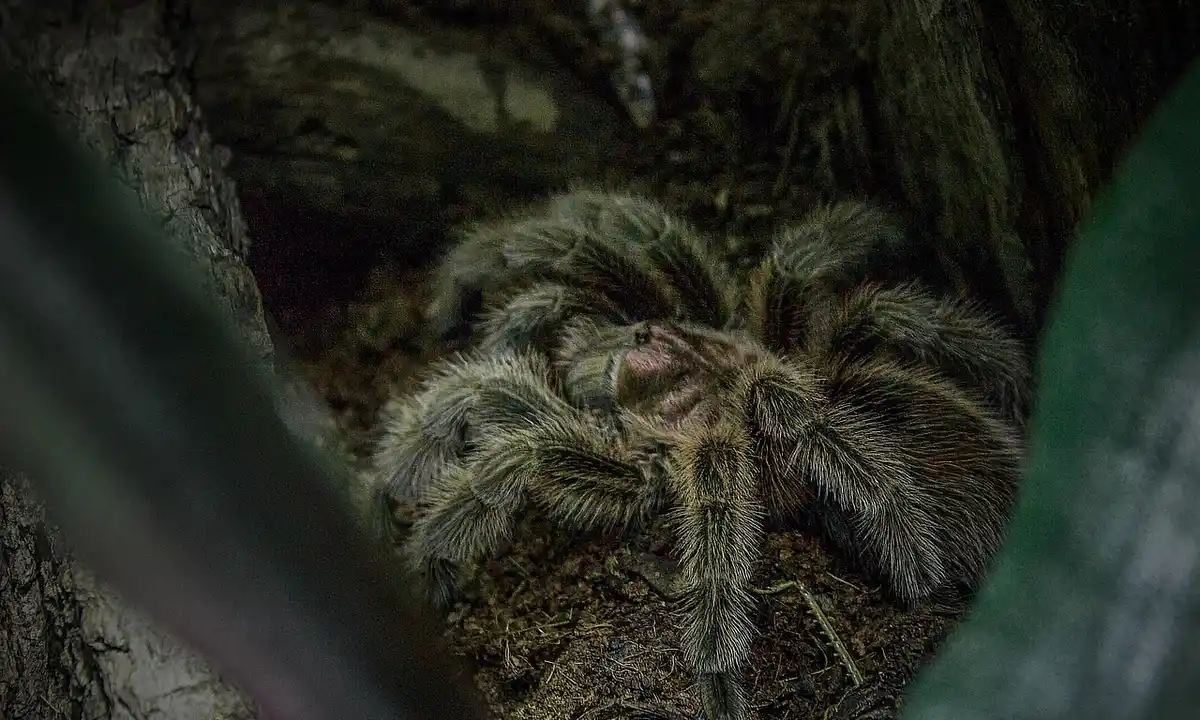
This is the moment of truth. Your patience here defines the experience for both of you. Rushing causes escapes, defensiveness, and stress-induced fasting. I clear the room of pets, block gaps under doors, and work on a large, clear table.
- Place the open transport container inside the prepared enclosure. Position it centrally. Turn off room fans and bright overhead lights. Then, wait. This is the safest method. The tarantula will eventually explore and step out onto the new substrate. With my docile Rosie, this can take 20 minutes. It is always worth the wait.
- Guide gently if necessary. If the tarantula is hesitant, use a soft, long-handled paintbrush or a piece of cork bark to *very gently* nudge its back legs. The goal is encouragement, not force. For fast species, I sometimes rest a bark “ramp” from the carrier to the substrate to guide their path.
- Never grab or lift. This can cause a fall, a bite, or a flick of urticating hairs. I learned this early when a startled tarantula kicked a cloud of hairs. Let the animal move at its own pace. If it climbs the enclosure wall, use the brush to guide it back down, never from a height.
- Secure and clean up immediately. Once the tarantula is out and the carrier is removed, secure the lid with any clips or locks. Have a dedicated trash bag ready for the old substrate from the previous enclosure to contain any mites or mold. Disinfect your transport tub, brush, and tools with a 10% bleach solution or vinegar, rinsing thoroughly afterward.
Post-Rehousing Care and Stress Monitoring
The moment you secure the lid on the new enclosure is when the real work begins. Your tarantula’s world just changed completely, and its behavior is your primary guide. Watch carefully for the first few days; what you see will tell you everything about their transition. Many tarantulas seal their burrows when introduced to a new enclosure. This common behavior helps regulate humidity and create a secure retreat, and understanding it is key to decoding their transition.
Tarantulas process stress differently than mammals. Recognize these common signs of relocation stress:
- Prolonged Hiding: Remaining in a burrow or hide for days on end, even at night, is normal for some species but a clear shift for others. My Goliath once vanished into its cork bark for a full week after a rehouse.
- Refusal to Eat: This is the most expected reaction. A tarantula’s digestive system often shuts down temporarily after the physical and psychological upheaval of a move.
- Unusual Lethargy: Sitting motionless in the open for extended periods, especially in an unnatural posture or spot, can indicate overwhelm.
- Excessive Climbing on Glass: Constant, frantic climbing, particularly by terrestrial species, often signals dissatisfaction with the substrate or an urge to flee the new environment.
Your aftercare protocol is simple but non-negotiable for a smooth transition.
- Provide Fresh Water Immediately. Place a shallow, clean water dish in an accessible corner. Hydration is critical, especially if the move was lengthy.
- Wait 5-7 Days Before Offering Food. This pause allows their internal systems to reset and reduces the risk of a prey item injuring a sensitive, unsettled tarantula. My old Chilean Rose, Rosie, would famously ignore crickets for a month after any enclosure change.
- Resist the Urge to Rearrange. Even if the hide placement looks “wrong” to you, changing it now adds more stress. Let the tarantula choose its safe zone.
Finding the right inspection balance is key. Check the enclosure visually once daily, preferably from a distance without tapping or opening the lid. Look for the water dish level, general placement, and any signs of webbing or excavation. If your tarantula is settling well-perhaps it has started digging or webbing-reduce these checks to every other day. Your goal is to become a silent, unobtrusive observer.
Intervention is rarely needed, but be prepared if normal stress behaviors escalate. If a terrestrial species is still climbing the walls after a week, re-evaluate the substrate depth and moisture. If your tarantula hasn’t accepted food after several weeks but appears plump and has access to water, continue waiting; fasting is normal. Only intervene directly if you observe a clear injury from the move, like a limp leg or fluid leak, which may require isolation and consultation with an exotic veterinarian. Most often, patience and a quiet room are the only medicine your tarantula needs.
FAQs
How can I secure the transport container to prevent escapes?
After placing your tarantula inside, add a secondary layer of security. Run a strip of strong packing tape completely around the seam where the lid meets the base. Alternatively, use a thick, sturdy rubber band around the container’s circumference. Always check that the primary lid is snapped or screwed on tightly before applying any secondary measure. Even with extra security, ensure the enclosure remains properly ventilated tarantula enclosure to prevent heat and humidity buildup. Use a vented lid or mesh sections to allow air exchange while keeping the tarantula secure.
What temperature and humidity levels should I maintain during transport?
Maintain an ambient temperature of 70-75°F (21-24°C) to prevent metabolic stress. For humidity, line the container bottom with a single, lightly damp paper towel for moisture-dependent species, and use a dry towel or nothing for arid tarantulas. Avoid placing the container near direct heat, air conditioning vents, or in direct sunlight. Learn more about the ideal temperature and humidity for tarantula enclosures.
How long can a tarantula safely stay in a transport container?
A tarantula can safely remain in a properly prepared transport container for up to 24-48 hours if necessary. For journeys longer than a few hours, ensure stable temperature and security. However, the goal is always to minimize this time, and any multi-day stay should be considered an exception, not the plan. Especially when it comes to your new tarantula’s first 24 hours for acclimation.
What should I do if my tarantula becomes agitated during the move?
Stop all movement and remain calm. Do not attempt to handle or touch the tarantula directly. For fast or defensive species, calmly use a catch cup to secure it. Allow the animal a moment to settle in a dark, quiet space before proceeding slowly with your tools. Have essential tarantula handling tools and safety equipment ready, such as a catch cup, soft brush, long-handled forceps, and eye protection. Using them calmly helps minimize stress and reduces risk to you and the spider.
How long should I wait to feed my tarantula after rehousing it?
Wait at least 5 to 7 days after the transfer before offering food. This allows its digestive system to reset and reduces the risk of injury from a prey item or refusal leading to stress. Observe its behavior; only offer food once it has begun exploring and shows signs of settling in.
How often should I check on the tarantula after rehousing?
Conduct a brief, visual check from a distance once per day for the first week to monitor water levels and general placement. Avoid tapping the glass or opening the enclosure. If it appears to be settling well-digging or webbing-you can reduce checks to every other day.
The Final Enclosure
The single most critical factor in every move, from deli cup to adult tank, is preventing a dangerous fall. A tarantula’s body is fragile; a drop from even a modest height can rupture its abdomen and cause a slow, fatal leak. Every tool and technique we’ve discussed serves this one non-negotiable rule.
With your spider safely settled, the real reward begins. Watch as it explores the new space, laying down the first exploratory silks. A fossorial species might vanish for weeks, engineering a subterranean palace. An arboreal weaver will transform its corner into a silken funnel. This quiet observation is the heart of the hobby. Each tarantula, from a steadfast Grammostola rosea like my Rosie to a volatile Pterinochilus murinus like Flash, expresses unique behaviors when given security and space. Your patience and careful planning make that possible.
Further Reading & Sources
- Tarantula Rehousing: Best Practises for a Smooth Transition to a New Enclosure | Spiders Web HQ
- Tarantula Rehousing Tips … With Videos! | Tom’s Big Spiders
- r/tarantulas on Reddit: Rehousing bolty tarantulas with the Bag Method!
Arlo is a lifelong arachnid enthusiast who believes tarantulas are the world’s most misunderstood roommates. With years of hands-on experience in tarantula care, habitat setup, and species behavior, Arlo combines expert knowledge with a dash of humor to make spider ownership less scary and a lot more fascinating. From choosing the right enclosure to understanding why your eight-legged buddy is doing that weird little pose again, Arlo is here to help you become the best tarantula parent you can be, without getting tangled in the web of misinformation.
Handling and Interaction