
What Are the Different Types of Tarantula Enclosures? (Glass, Plastic, Acrylic)
Published on: February 26, 2026 | Last Updated: February 26, 2026
Written By: Arlo
The enclosure you choose is the single greatest factor in your tarantula’s health and your ability to observe it successfully; it is not merely a container, but a managed biome. This guide examines the three primary materials-glass, plastic, and acrylic-through the lens of decades of keeping everything from a pet rock Grammostola rosea to a humidity-loving Theraphosa stirmi and the lightning-fast Pterinochilus murinus. You will find clear comparisons on insulation, humidity retention, ventilation, and safety for both keeper and spider.
Quick Stats: Enclosure Materials at a Glance
- Origin (Common Use): Glass (Terrariums), Plastic (Sterilite/IRIS boxes), Acrylic (Custom-built displays)
- Type: New World & Old World compatible, with critical modifications for ventilation or moisture
- Growth Rate (For Your Wallet): Plastic is fast and cheap for juveniles, Glass is a steady standard, Acrylic is the long-term adult investment
This breakdown will equip you to select the perfect housing to safely showcase your tarantula’s natural behaviors, from burrow-building to silken curtain-making.
The Core Materials: Glass, Plastic, and Acrylic Defined
Glass Enclosures: The Traditional Terrarium
Glass tanks are the iconic image of a terrarium, heavy panes forming a crystal-clear box. This material provides optical perfection, allowing you to appreciate the dusty pink hue of my Grammostola rosea, Rosie, without any color distortion or blur.
Here are the key advantages and drawbacks:
- Pros:
- Superior clarity for detailed observation of behaviors and health.
- Chemically inert and non-porous, making it simple to sanitize.
- Retains ambient heat well, which can stabilize temperatures.
- Cons:
- Extremely heavy, especially in larger sizes, limiting placement options.
- Poor insulation against temperature swings from the room.
- Risk of breakage from drops or impacts, and condensation can obscure views.
Lids are often screen or glass, with secure clips. While affordable for small sizes, large custom glass tanks command a higher price, a cost I’ve weighed for display species.
Plastic Enclosures: The Lightweight Workhorse
Plastic enclosures range from repurposed food containers to designed cricket keepers. Their greatest strength is modifiable utility, letting you drill precise ventilation holes for moisture-loving species like my Theraphosa stirmi, Goliath.
Consider these points for plastic:
- Pros:
- Extremely lightweight, perfect for stacked shelving units.
- Very affordable, with DIY options costing just a few dollars.
- Provides good thermal insulation, buffering your tarantula from room drafts.
- Cons:
- Scratches easily, clouding visibility over many cleanings.
- Some types can warp under high humidity or heat.
- Aesthetically plain, lacking the display appeal of other materials.
Moisture control is straightforward as plastic holds humidity well. Clean with mild soap and water, avoiding abrasive pads that mar the surface and hide your pet from view.
Acrylic Enclosures: The Modern Display Option
Acrylic is a synthetic polymer, a crafted alternative to glass. It combines good transparency with reduced heft, ideal for safely displaying fast arboreals like my Pterinochilus murinus, Flash, in a tall cage.
Evaluate acrylic with this list:
- Pros:
- Lighter than glass, easing handling during rehouses.
- Very good clarity, rivaling glass when new.
- Often features built-in, precision laser-cut ventilation.
- Cons:
- Scratches more readily than glass, requiring careful cleaning.
- Can be costly, especially for front-opening designs.
- May develop fine stress cracks over years, compromising integrity.
Compare its durability directly: it lacks the brittle danger of glass but won’t withstand abuse like thick plastic. For weight, acrylic sits comfortably between the two, a manageable compromise for frequent access.
Weighing the Pros and Cons for Tarantula Care
Visibility and Observation Quality
Your ability to witness the silent stalk or the iridescent sheen of a carapace depends heavily on the enclosure wall. Glass remains the champion for undistorted, lifelong viewing, letting you count the spines on a pedipalp.
Here is a simple ranking for visual fidelity:
- Glass: Unbeatable clarity, but condensation can be a temporary foe.
- Acrylic: Starts near glass-quality, but accumulates fine scratches that diffuse light over time.
- Plastic: Often offers a hazy view initially, which degrades fastest with surface wear.
Scratches on acrylic or plastic create a permanent fog, diminishing the pleasure of observation. I choose glass for my pet rock Rosie, as her long stretches of stillness reward the sharpest focus.
Durability, Weight, and Everyday Handling
Consider the physical dance of cleaning, moving, and accessing the enclosure. Plastic is the featherweight, allowing you to rearrange an entire collection shelf without strain.
Glass brings imposing mass, anchoring it firmly but making lifts hazardous. Acrylic offers a middle ground in weight. The risk of cracks during handling is real; a slip while cleaning can shatter glass, while acrylic may crack from a sharp impact.
I learned this lesson moving a large glass tank for a previous tarantula; one awkward angle and the terrifying sound of stress reminded me why we plan our moves. For daily handling, lightweight materials reduce stress for both keeper and tarantula during maintenance.
Cost and Accessibility for Hobbyists
Budget often directs the first choice. Plastic enclosures are the most accessible, with ready-made options under twenty dollars or DIY costs near five.
General cost comparison scales with size and features:
- Plastic: Lowest cost. A simple storage box is a functional starter home.
- Glass: Mid-range. Standard aquariums are common, but custom work increases price.
- Acrylic: Often highest. Precision machining and modern designs add value.
Cost-effective plastic DIY projects keep the hobby affordable. I began with modified plastic containers, which taught me ventilation basics before investing in permanent displays. When you assemble a DIY tarantula enclosure on a budget, you learn to prioritize airflow and durable, low-cost parts. Plan ahead to reuse materials and estimate costs to keep projects affordable. Remember, the enclosure is a long-term investment in your tarantula’s welfare.
Matching the Enclosure to Your Tarantula’s Life Mode
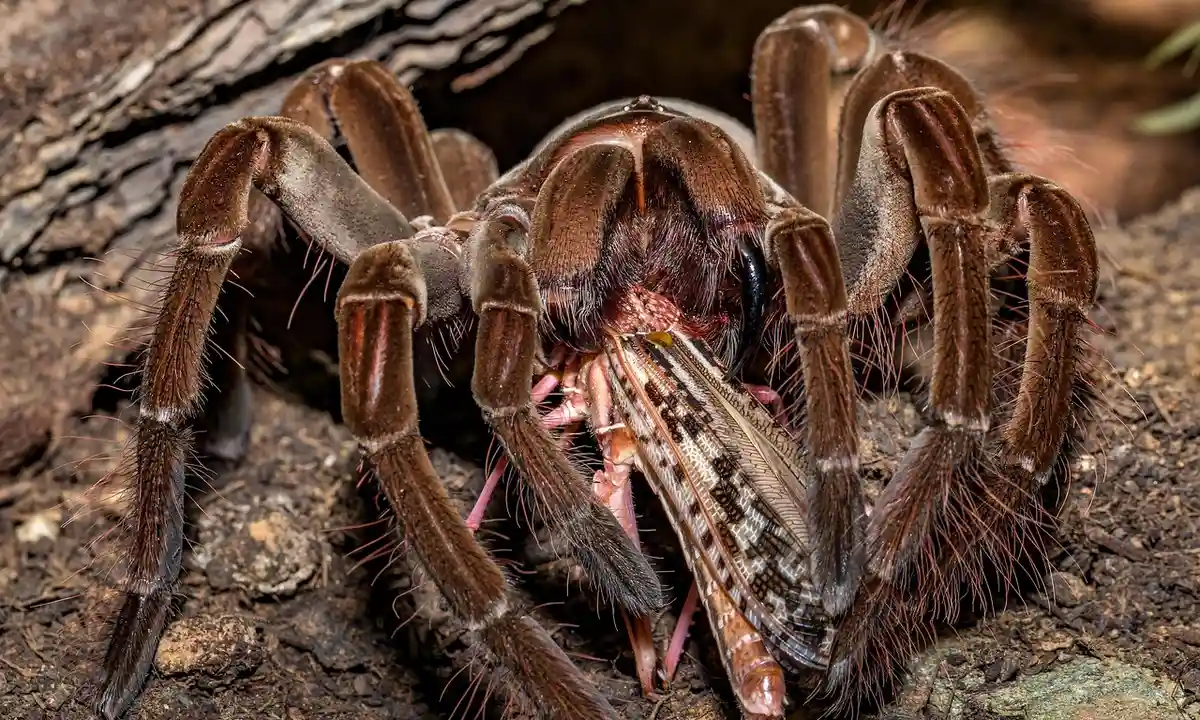
The most elegant enclosure in the world is a failure if it ignores your tarantula’s fundamental biology. We must cater to their instinctive needs first. Choosing the best substrate and keeping it clean are essential for a tarantula enclosure. Regular maintenance keeps the substrate effective for humidity and burrowing.
Best Enclosures for Arboreal Tarantulas
Arboreal tarantulas, like those in the Psalmopoeus or Avicularia genera, are the tree-dwelling acrobats of the hobby. Their world is vertical. I keep my P. murinus “Flash” in a setup that honors this. The single non-negotiable feature for an arboreal enclosure is substantial vertical height, at least twice the spider’s diagonal leg span.
Acrylic or specialized plastic cages are superb here. Their lighter weight makes tall configurations more stable and safer. You absolutely need an escape-proof, secure locking lid; these spiders can be startlingly agile and will exploit any gap.
Key features to prioritize include:
- Ample cross-ventilation on the upper portions of the enclosure to prevent stagnant, humid air.
- Anchor points for webbing, like cork bark slabs, branches, or textured rear walls.
- A design that allows you to feed and maintain the enclosure from the front or top without destroying their intricate funnel webs.
Best Enclosures for Terrestrial Tarantulas
Terrestrial species, from docile “pet rocks” to mammoth moisture-lovers, need space to roam horizontally and dig. My 15-year-old G. rosea “Rosie” exemplifies the classic terrestrial: she needs more floor area than height. For a heavy-bodied species like my Theraphosa stirmi “Goliath,” the priority shifts to humidity retention and deep substrate.
Glass terrariums work well for standard desert species due to heat retention, while modified plastic storage boxes are champions for humid tropical setups. The lid must be secure and sit low enough to prevent a dangerous fall from the top mesh, a common cause of fatal abdominal ruptures.
Consider these factors:
- Provide a substrate depth of at least 1.5 times the tarantula’s leg span for burrowing species.
- Ensure the lid has adequate ventilation to prevent mold, even in humid setups.
- For giant species like Theraphosa, a front-opening design minimizes the stress of reaching in over them.
Critical Husbandry Factors: Ventilation and Humidity
This is where theory meets practice. Getting the balance between air flow and moisture wrong is a leading cause of health issues in captive tarantulas. To connect this to practical care, we’ll cover the five biggest humidity-ventilation mistakes tarantula keepers tend to make. Understanding these pitfalls helps you keep tarantulas healthy.
Ventilation Design Across Enclosure Types
Stagnant air is a silent killer, promoting rampant mold growth and bacterial proliferation that can infect your tarantula during its vulnerable molting period. Good ventilation creates a gentle cross-flow, replacing stale air without creating a desiccating draft.
Materials handle ventilation differently:
- Acrylic: Often comes with pre-drilled ventilation holes or slots. You can add more with a drill, but go slow to avoid cracking.
- Plastic: The easiest to modify. A simple soldering iron or drill lets you create precise, melt-sealed holes quickly.
- Glass: Requires a specialized glass drill bit and a steady hand. Often, you must rely on the manufacturer’s pre-set ventilation patterns.
To safely add ventilation to a plastic enclosure:
- Plan your hole pattern on opposite sides for cross-ventilation.
- Use a soldering iron (in a well-ventilated area) or a drill with a sharp bit.
- Apply gentle, consistent pressure. Let the tool do the work.
- Melt or drill from the outside in to create a cleaner, safer interior edge.
Moisture Control and Humidity Retention
Humidity isn’t just a number; it’s about how water interacts with the enclosure’s microclimate. Each material manages this relationship uniquely.
Glass tends to cause condensation to pool on cool surfaces, sometimes dripping and creating soggy patches. Plastic distributes and holds moisture more evenly throughout the substrate. Acrylic falls somewhere in the middle. Your goal is consistent, ambient humidity, not a wet box. Soggy substrate is a one-way ticket to mite infestations and fungal issues.
Practical moisture management steps:
- Choose a moisture-retentive substrate like coconut fiber or topsoil for tropical species.
- Always keep a full water dish; evaporation contributes significantly to ambient humidity.
- For species needing higher humidity, pour water directly into a corner of the substrate instead of misting the entire surface. This creates a moisture gradient.
- Monitor with a digital hygrometer placed at substrate level, but always trust the physical signs-if the substrate is damp to the touch a few inches down for a tropical species, you’re likely on track.
Safety, Security, and Proper Sizing
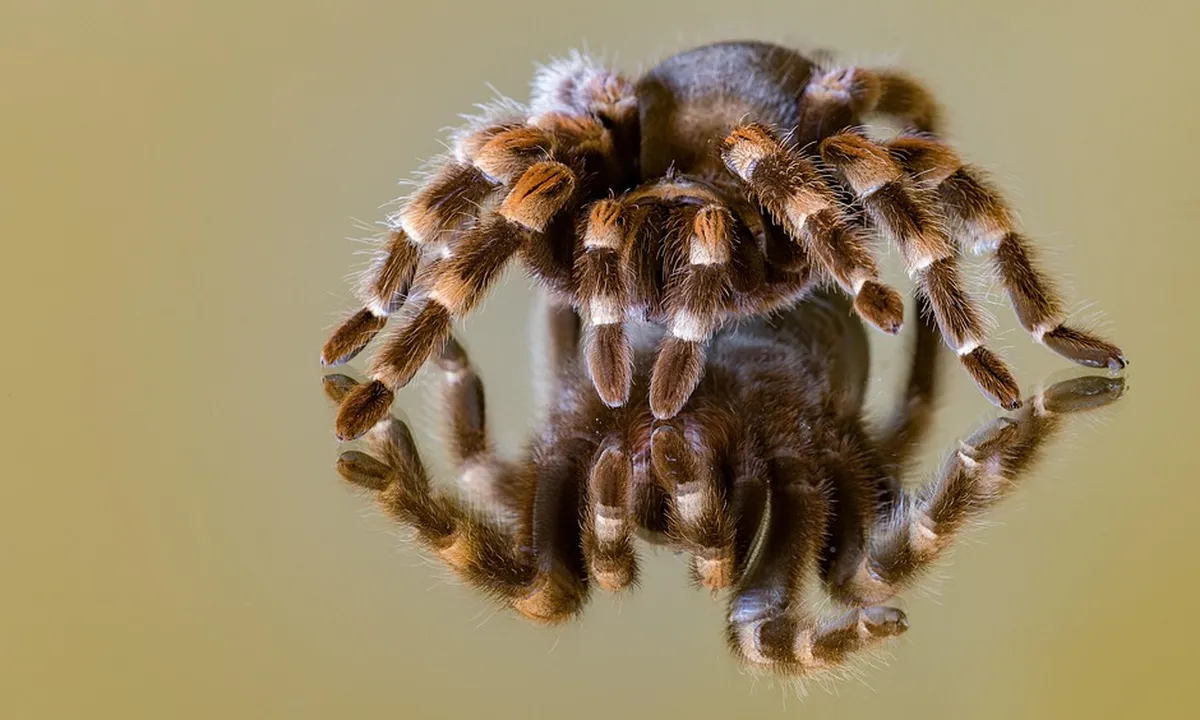
Escape-Proof Lid Design is Non-Negotiable
A secure lid is your primary barrier against an adventurous tarantula. Every enclosure must feature a locking or clipping mechanism that you test regularly for reliability. Common failures include plastic lids warping from humidity, creating stealthy gaps, and glass lids sliding open without a sound. I recommend using stainless steel lid clips for plastic containers and small weights or adjustable straps for glass tanks. I learned this the hard way with my OBT, Flash; during a routine feeding, a poorly secured lid gave way, leading to a frantic search for a vivid orange tarantula in a cluttered room. The sudden silence, punctuated only by my own shallow breathing, was a stark lesson in vigilance. It was definitely one of the common mistakes to avoid.
Choosing the Correct Enclosure Size
Providing the right amount of space is a delicate balance between freedom and security for your tarantula. Aim for an enclosure with floor dimensions two to three times your tarantula’s leg span in both length and width. This offers ample room for exploration and feeding without creating overwhelming emptiness that can induce stress. An excessively large enclosure for a small spider, like a spiderling, can make locating prey difficult and amplify anxiety, which I’ve observed in my own collection.
| Life Stage | Leg Span Range | Recommended Floor Space |
|---|---|---|
| Spiderling | 0.5 – 2 inches | 4″ x 4″ to 6″ x 6″ |
| Juvenile | 2 – 4 inches | 8″ x 8″ to 12″ x 12″ |
| Adult | 4+ inches | 12″ x 12″ or larger, based on species |
This table is a starting point; arboreal species need vertical space, while burrowers like my Goliath require deep substrate. Always err on the side of a snug, secure home over a cavernous one that compromises your tarantula’s sense of safety. When deciding between deep or shallow substrate, consider your species’ natural habitat. If burrowing is common, deeper substrates are better; for climbers and surface dwellers, shallower setups with structure work best.
Acquisition and Setup Considerations
Where to Find and Select an Enclosure
Source your enclosures from retailers that understand containment needs. I frequent online reptile supply stores, general plastic container shops for customizable options, and specialty arachnid vendors for purpose-built designs. Before you buy, perform a hands-on inspection: feel all interior edges for sharpness, test the lid’s fit for any play or warp, and verify that ventilation holes are numerous and cleanly drilled. I once overlooked a nearly invisible seam burr in a plastic box that could have injured a tarantula’s delicate feet.
- Online reptile suppliers: Offer a range of designs with built-in ventilation.
- Plastic container stores: Provide affordable, modifiable bases for DIY projects.
- Specialty arachnid shops: Sell enclosures tailored to specific tarantula behaviors.
Essential Setup and Maintenance Steps
Proper setup creates a stable foundation for your tarantula’s health. Follow this sequential process to establish a safe and comfortable environment from the start.
- Clean with water: Wipe the entire interior with a soft cloth and lukewarm water to remove dust or residues. Never use soaps or disinfectants at this stage.
- Add substrate: Pour in a layer of moistened coconut fiber or peat moss, 3 to 5 inches deep for terrestrials, more for avid burrowers.
- Install hides and water dish: Position a cork bark hide for shelter and a shallow, tip-proof water dish filled with clean water.
- Secure lid: Confirm the lid is firmly locked or clipped before gently introducing your tarantula.
Regular maintenance preserves the enclosure without introducing toxins. For glass, use a damp microfiber cloth to clean, drying immediately to prevent streaks or mineral deposits. Acrylic requires even gentler handling with a soft cloth to avoid micro-scratches. Plastic can tolerate a dilute vinegar solution for cleaning, but must be rinsed thoroughly and air-dried. When my Chilean Rose Hair, Rosie, needs a full enclosure change, I move her to a temporary holding container with minimal disturbance, ensuring her permanent home is spotless and chemical-free before her return.
FAQs
Which enclosure type is best for a beginner tarantula keeper?
For beginners, a simple and affordable plastic enclosure is often the best choice. It is easy to modify, lightweight, and forgives early mistakes in setup or maintenance. Starting with plastic allows new keepers to learn essential husbandry skills before investing in more permanent or specialized display enclosures.
Can I safely modify a store-bought plastic container into a proper enclosure?
Yes, modifying plastic storage containers is a very common and safe practice. Use a soldering iron or a drill to add small ventilation holes, ensuring you smooth any rough edges on the interior. The key is to create a secure, escape-proof lid, often by adding clips or weights, to prevent any accidental escapes.
Do the scratches that develop on acrylic enclosures pose any risk to my tarantula?
Scratches on acrylic are primarily a cosmetic issue that reduces visibility for the keeper. They do not typically pose a direct physical risk to the tarantula itself. However, deep cracks from impacts can compromise the enclosure’s structural integrity, so careful handling is always recommended.
Are there different recommendations for fossorial (burrowing) tarantulas?
Absolutely. For dedicated burrowers, the primary concern is providing enough deep, packable substrate, regardless of the enclosure material. A deep plastic or glass container with significant vertical height for substrate is ideal. Cross-ventilation near the top of the enclosure is crucial to prevent stagnant, moist air at the bottom of the burrow.
Why is glass often problematic for maintaining high humidity, and how can I manage it?
Glass tends to create condensation on its cool surfaces, which can lead to uneven wetness and potential mold spots instead of consistent ambient humidity. To manage this, pour water directly into a corner of the substrate and use a moisture-retentive substrate mix. A digital hygrometer at substrate level will help you monitor conditions more accurately than the condensation on the walls.
What are the most critical safety features beyond a secure lid?
Beyond an escape-proof lid, smooth interior edges are paramount to prevent injury to your tarantula’s delicate exoskeleton. Ensure all ventilation holes are filed smooth and there are no sharp seams. For taller enclosures, especially for terrestrial species, the distance between the substrate and the lid must be minimal to prevent dangerous falls. Terrestrial tarantulas generally favor a broader, lower footprint, while arboreals benefit from vertical space and climbing features. The basic safety elements—smooth edges, a secure lid, and adequate ventilation—still apply, but should be tailored to whether the tarantula is terrestrial or arboreal.
Building a Home for Life
Selecting the right enclosure is not a one-time task but a fundamental commitment to your spider’s long-term welfare. The single most critical parameter is matching ventilation to your tarantula’s native humidity needs. Proper ventilation is essential for a secure tarantula enclosure: ensure vents are escape-proof and regularly checked to maintain steady airflow. An enclosure that perfectly balances moisture retention and airflow for your specific species prevents the two greatest physical threats: fatal dehydration and suffocating mold.
The true joy emerges after the setup is complete. Watch your fossorial spider sculpt intricate tunnels, or your arboreal weaver turn its space into a silken fortress. My OBT, Flash, transformed a simple cork slab into a dense, orange-fringed funnel within a week. My old Chilean Rose, Rosie, will sit in one spot for months, a master of stillness. This patient observation, not handling, is the heart of arachnoculture. You are building a biome, a theater of silent, fascinating behaviors that unfolds on its own schedule. Your reward is witnessing a life perfectly suited to the world you helped create.
Further Reading & Sources
- r/tarantulas on Reddit: What’s everyone’s favorite enclosure?
- Tarantula Enclosures – Premium and DIY | Tom’s Big Spiders
- Bioactive Tarantula Enclosure Kits | The Bio Dude
Arlo is a lifelong arachnid enthusiast who believes tarantulas are the world’s most misunderstood roommates. With years of hands-on experience in tarantula care, habitat setup, and species behavior, Arlo combines expert knowledge with a dash of humor to make spider ownership less scary and a lot more fascinating. From choosing the right enclosure to understanding why your eight-legged buddy is doing that weird little pose again, Arlo is here to help you become the best tarantula parent you can be, without getting tangled in the web of misinformation.
Enclosures and Sizes