
How to Preserve a Dead Tarantula: A Wet Specimen vs. Pinning Guide
The final posture of a tarantula is a moment of profound stillness, a chance to honor the animal’s life by preserving its intricate form for study and remembrance. This guide is for the keeper facing that quiet moment, explaining the two primary methods: immersion in fluid as a wet specimen, or the careful arrangement and drying required for pinning. For most hobbyists, creating a wet specimen is the more accessible and forgiving process, requiring less specialized skill to achieve a lasting result.
Quick Stats on Tarantula Anatomy for Preservation
- Exoskeleton Composition: Chitin and protein, which can become brittle when dry.
- Key Preservation Challenge: Preventing tissue desiccation and decomposition while maintaining structural form.
- Critical Factor: Specimen freshness; the process must begin soon after death for optimal results.
This guide will walk you through each method step-by-step, from the initial preparation of your tarantula to the final display, ensuring you can choose and execute the technique that best suits your goals and respects your pet.
Why Consider Tarantula Preservation as a Pet Keeper
For many, our tarantulas are quiet companions observed over years. When one passes, the impulse is often to bury them. But there is another path. Preservation allows you to honor that long-term bond in a tangible, respectful way. It transforms a moment of loss into a lasting piece of natural history. This process is not about morbid curiosity, but about continuing stewardship of an animal you cared for in life.
From a practical standpoint, a preserved specimen is a profound learning tool. You can study the intricate details of the chelicerae, the patterns of setae, and the spinnerets in a way a living animal never allows. For a hobbyist who has spent countless hours observing behaviors, examining the physical architecture completes the picture. I preserved my old Chilean Rose, Rosie, after her long life; having her as a wet specimen lets me still appreciate the subtle dusty pink hues I watched for over a decade.
Preservation also creates a legacy. That first sling you raised, a particularly beautiful color morph, or a species that sparked your passion can remain part of your collection. It’s a deeply personal choice, but one that many dedicated keepers find meaningful.
Choosing Your Method: Wet Specimen vs. Arthropod Pinning
Your primary decision is between two classic techniques. The best method depends on your goals, the specimen’s size, and your comfort with the processes.
Wet Specimen Preservation: An In-Depth Look
This method involves submerging the tarantula in a liquid fixative and preservative. It is generally the easier and more accessible method for pet owners. The tarantula retains its full, lifelike form and color remarkably well. However, when dealing with live tarantulas, safe handling for beginners is crucial and beginners are advised to minimize direct contact. Start with observation and secure enclosures, and only handle under guidance with proper equipment.
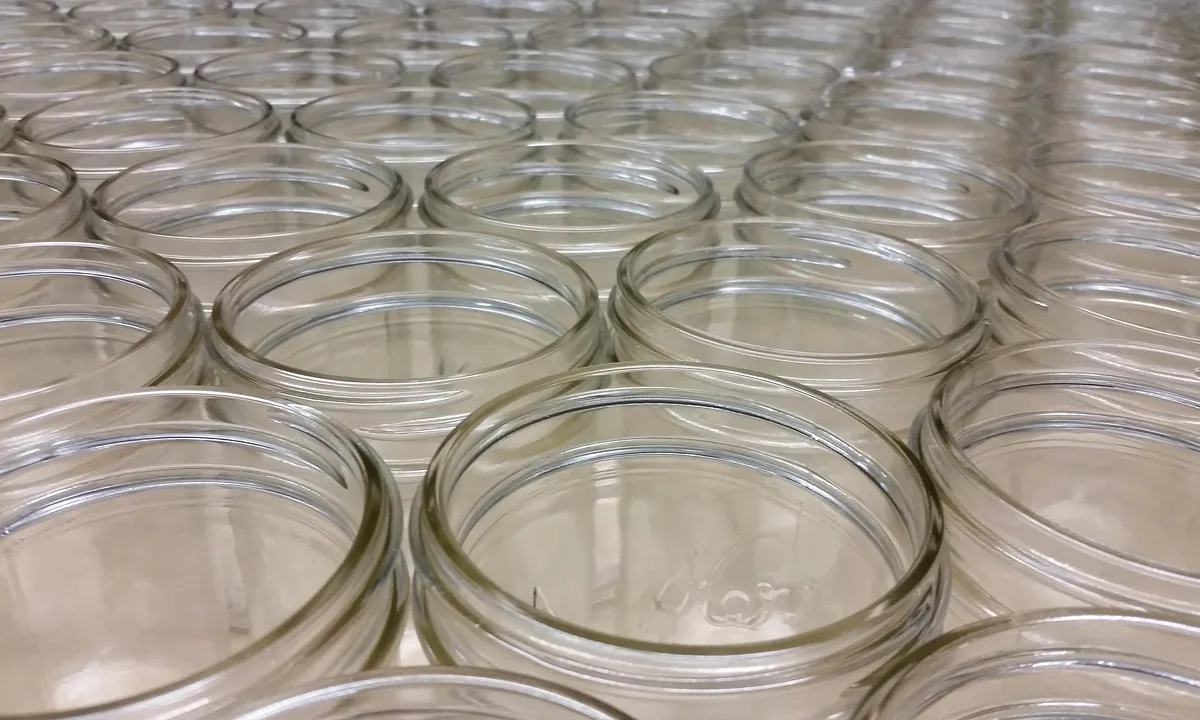
You will need a sealing glass jar, 70-75% isopropyl alcohol, and formalin (a 10% formaldehyde solution) for initial fixation. Always handle formalin in a well-ventilated area wearing gloves and eye protection; it is a hazardous chemical. The process has distinct phases.
- Fixation: Gently inject the abdomen and cephalothorax with a small amount of 10% formalin using a hypodermic needle. This halts internal decay. Submerge the entire specimen in formalin in a sealed container for 1-2 weeks.
- Transfer: Carefully remove the tarantula from the formalin and rinse it briefly in water. Pat it dry with a paper towel.
- Final Preservation: Place the tarantula into a clean, air-tight jar. Fill the jar completely with 70% isopropyl alcohol, ensuring no air bubbles are trapped. Seal the lid tightly. Store it away from direct sunlight to prevent fading.
This method is ideal for larger, hairier species like my Theraphosa stirmi, Goliath. The alcohol keeps the setae and body shape perfectly intact. The main drawback is that the specimen must remain in liquid; you cannot handle it freely.
Taxidermy-Style Pinning: An In-Depth Look
Pinning, or entomological mounting, is a dry method. It displays the tarantula in a dynamic pose on a setting board. This is more complex and is best for smaller to medium-sized specimens with less dense hair.
You need a soft entomological mounting board, insect pins, a spreading board, and waxed paper strips. The tarantula must be rehydrated first, as a fresh molt is pliable but a deceased tarantula will be brittle. Always wear PPE—gloves and eye protection—when handling tarantulas, and use soft, purpose-built handling tools to minimize stress and risk. These safety-focused items are essential alongside your mounting and rehydration steps.
- Rehydration: Create a humidity chamber by placing the specimen on a grate above warm water in a sealed container for 24-48 hours until the legs become flexible.
- Positioning: Pin the tarantula through the right side of its carapace onto the foam board. Gently arrange the legs into a natural, slightly crouched pose using pins and waxed paper strips to hold them in place. Keep the pedipalps forward and the fangs visible.
- Drying: Allow the positioned tarantula to dry completely in a low-humidity environment for 1-2 weeks. The internal tissues will desiccate, fixing the pose permanently.
- Finishing: Once bone-dry, carefully remove the positioning pins and strips. The main pin through the body can remain. Place the mounted specimen in a sealed display case to protect it from pests and moisture.
Pinning requires patience and a delicate touch, as forcing a joint can cause a leg to snap. I would not recommend this for a first attempt on a prized pet. It is, however, stunning for displaying the elegant anatomy of an old world arboreal species. For a fast, defensive spider like my OBT, Flash, a pinned pose can capture that characteristic alert posture forever.
Step-by-Step Guide to Creating a Wet Specimen
-
Safety First: Protective gear and workspace setup.
Wear nitrile gloves and safety goggles before you begin. Formalin vapors are toxic. I set up in my garage with the door wide open for airflow. Cover your surface with newspaper or a plastic tray. This basic protective barrier is non-negotiable when working with chemical fixatives.
-
Initial Preparation: Gentle cleaning and positioning the tarantula.
Use a soft, damp paintbrush to wipe away any substrate or debris. For my late G. rosea, Rosie, I carefully cleaned her carapace to keep that faded pink visible. Tuck the legs gently against the body for a compact shape that fits well in a jar. Handling the body with patience at this stage ensures a dignified and aesthetically pleasing specimen.
-
The Injection Process: Using formalin or ethanol for fixation.
Fill a small syringe with 10% formalin or 70% isopropyl alcohol. Gently inject the solution into the abdomen and the base of each leg. I prefer ethanol for its lower toxicity. Inject slowly to prevent bloating or rupture. Thorough internal fixation is what stops tissue decay and preserves the specimen permanently.
-
Final Storage: Transferring to a final ethanol solution and sealing the jar.
Submerge the tarantula completely in a glass jar filled with fresh 70% ethanol. Seal the lid tightly. I add a typed label with the scientific name, date of preservation, and the tarantula’s common name. Airtight storage in the correct concentration of ethanol is the final, critical step for a crystal-clear wet specimen that lasts decades. Note: This method is for preserving a specimen, not live tarantulas after a molt. If you’re caring for a tarantula post-molt tarantula care, provide a calm enclosure, steady humidity, and avoid handling until the exoskeleton has fully hardened.
Step-by-Step Guide to Pinning a Tarantula
-
Softening and Positioning: Rehydrating if necessary and setting the specimen’s legs and palps.
If the tarantula is brittle, rehydrate it in a sealed container with a damp paper towel for 24-48 hours. Once flexible, arrange the legs in a natural posture. I posed my P. murinus, Flash, with front legs raised. Proper rehydration gives you the pliability needed to create a realistic, expressive stance without damage, unlike when handling a live tarantula.
-
Mounting and Pinning: Securing the tarantula to a mounting board with insect pins.
Place the specimen on a firm foam pinning board. Use size 3 or 4 insect pins to hold each leg and palp in place. Angle pins through the joints, not the body. Precise pinning through the leg segments provides solid anchorage while minimizing visible damage to the exoskeleton.
-
The Drying Process: Controlling humidity for slow, even desiccation.
Leave the pinned tarantula in a dry, room-temperature space away from sunlight. A consistent environment prevents warping. This process takes weeks. I use a spare cabinet. Slow, controlled drying is the secret to a rigid, perfectly shaped dry specimen that retains all its fine details. For live tarantulas, create a proper substrate moisture gradient in the enclosure to mimic natural burrow conditions. A dry retreat and a moistened zone help regulate humidity and comfort.
-
Final Assembly: Removing temporary pins and adding a data label.
After the tarantula is fully dry and rigid, remove all the pins. Mount it permanently in a display case. Create a small label with the Latin name, collection date, and your name. I noted my T. stirmi’s habit of kicking hairs. A complete data label transforms your pinned tarantula from a curiosity into a scientific record and a personal memorial.
Long-Term Care and Storage of Preserved Specimens
Preserving a tarantula is a commitment to its legacy. Proper long-term storage protects your scientific specimen and honors the animal’s life. Whether suspended in fluid or mounted in a case, each method demands specific vigilance against decay, light, and physical damage. Different tarantula species have unique care needs and their environment—temperature, humidity, and enclosure setup—can greatly influence lifespan. By aligning husbandry with species-specific requirements, you support longer, healthier lives for these arachnids.
Maintaining a Wet Specimen Collection
A wet specimen is a dynamic archive, not a static jar. The primary enemy is evaporation, which can desiccate your specimen and ruin its anatomical details. If you are caring for a live tarantula, dehydration presents as a sunken, wrinkled abdomen and reduced activity. I use 70-75% isopropyl alcohol for my personal collection; it’s effective and safer than formalin for home use. Check fluid levels every six months, topping off with fresh preservative to keep the tarantula fully submerged.
Store jars in a cool, dark place, ideally between 60-70°F (15-21°C). Direct sunlight will bleach colors and degrade the preservative fluid at a molecular level. I learned this after a preserved Grammostola rosea molt lost its dusty pink hue on a sunny shelf. For labels, use waterproof ink on acid-free paper placed inside the jar, as external labels can peel or fade.
- Inspect seals and lids annually for corrosion or leaks.
- If the fluid becomes cloudy, replace it entirely to prevent bacterial growth.
- For large specimens like my Theraphosa stirmi, Goliath, ensure the jar volume is at least three times the spider’s size for adequate preservation.
Protecting a Pinned Specimen Display
A pinned tarantula is incredibly fragile. The goal is to create a micro-environment free from vibrations, pests, and atmospheric moisture. I keep my display cases in a room with stable humidity, below 60%, to prevent rust on pins or swelling in the foam base. Light exposure must be minimal; UV-filtering glass is ideal for any display case. Common heating and humidity mistakes—like overheating the enclosure or letting humidity fluctuate—can seriously harm a tarantula. Keeping conditions stable and avoiding rapid temperature or moisture shifts helps protect them.
Dermestid beetles and moths can destroy a dried specimen. I place a small packet of silica gel in the back of the case to deter pests by maintaining low humidity. For cleaning, use a soft, static-free brush like a makeup brush to gently remove dust without touching the bristles or legs. Always handle the pin, not the specimen itself.
- Secure the display case on a stable shelf, away from vents or doors that cause air currents.
- Every few months, check for loose pins or sagging posture, adjusting with extreme care.
- Consider a sealed shadow box for added protection against airborne dust and curious hands.
Essential Safety Precautions for Arthropod Preservation
Preservation work requires the same respect as caring for a living tarantula. You are handling biological material that may retain irritants or pathogens long after death. My fast Pterinochilus murinus, Flash, taught me that defensive adaptations don’t vanish with life. Always assume urticating hairs on New World species or venom residue on fangs are still potent. To properly care for advanced tarantula species, follow species-specific husbandry guidelines and minimize handling. Maintain secure enclosures and rigorous hygiene to prevent exposure to irritants and toxins.
Work in a well-ventilated area, like a garage or under a kitchen hood. Wear nitrile gloves and safety glasses during all stages, especially when handling preservative fluids or positioning delicate limbs. I learned this the hard way when alcohol splashed near my eye while topping off a jar. Have a dedicated workspace that can be easily cleaned with soap and water afterward.
For wet specimens, use only appropriate containers that can seal tightly against chemical fumes. Never use food or drink containers for preservation fluids, as residual chemicals can be toxic. Label all containers clearly with contents and date. When pinning, use a firm foam board and keep pins organized; a sudden slip can cause a sharp injury or damage the specimen.
- Treat all dead tarantulas as if they could flick urticating hairs; avoid bringing your face close.
- Dispose of used fluids and materials according to local hazardous waste guidelines.
- Keep your preservation kit-pins, forceps, alcohol-locked away from children and pets.
The silence of the enclosure after a tarantula passes is profound. By preserving them safely and methodically, we transform that silence into a lasting record of their form and beauty, especially when protecting endangered species.
Common Questions
What are the main pros and cons of each preservation method?
A wet specimen is generally more accessible for beginners and excels at preserving the tarantula’s full, lifelike form and color. However, it requires a permanent sealed jar with fluid that needs occasional topping up. Pinning creates a striking, poseable display ideal for studying surface anatomy but is a more delicate process that risks damaging brittle legs and is less suitable for very large or fuzzy species.
How long does each type of specimen last with proper care?
Both methods can last for decades with correct long-term care. A wet specimen will remain intact almost indefinitely if kept fully submerged in 70-75% isopropyl alcohol and stored away from light. A pinned specimen, once completely desiccated and protected in a sealed case, is also extremely long-lasting but is vulnerable to physical damage, pests, and high humidity over time.
Which method is better for display purposes?
For dynamic, artistic display, pinning is superior as it allows you to position the tarantula in a natural, expressive pose. For preserving the exact color and texture, especially of a large, hairy tarantula, a wet specimen is better. The wet method keeps the setae intact and the body plump, offering a more lifelike appearance than the dried form of a pinned specimen.
Which method is better for scientific study?
For most detailed scientific study, a wet specimen is preferred. The fluid preservation maintains more of the internal and external soft tissues, allowing for closer examination of anatomy. Pinning is excellent for studying surface morphology, leg arrangement, and spinnerets, but the drying process can distort some finer internal details.
What are the key storage considerations for each method?
Store a wet specimen in a tightly sealed glass jar, completely filled with preservative fluid, and placed in a cool, dark location to prevent fading and evaporation. A pinned specimen must be housed in a sealed, sturdy display case kept in a stable, low-humidity environment to protect it from dust, pests, and moisture that can cause deterioration.
Why are safety precautions so important during the preservation process?
Safety is critical due to hazardous chemicals and biological irritants. Formalin fumes are toxic, requiring ventilation and protective gear. Even after death, a tarantula’s urticating hairs or residual venom can be potent, so gloves and eye protection are essential. Treating the process with caution respects both the keeper’s safety and the integrity of the specimen.
The Final Molt
The single most critical factor for a successful wet specimen is achieving and maintaining a 70% concentration of isopropyl alcohol; any less risks decomposition, and any more can cause brittleness and tissue distortion. Whether you choose the three-dimensional clarity of a jar or the detailed study of a spread-eagled pin, precise execution defines a lasting tribute.
This final act of care is a profound extension of the husbandry we practice in life. We transition from observing the silent stalk in the enclosure to preserving the intricate architecture of the animal itself. Like the patience required for a stubborn Grammostola rosea to finally molt, creating a good specimen cannot be rushed. It is a quiet, focused process that honors the spider’s form and your journey as its keeper, allowing you to continue learning from its remarkable anatomy long after its last walk.
Further Reading & Sources
- VIDEO TUTORIAL: Tarantula preserving and Pinning on – Wildflower Oddities
- Preserving a Tarantula Specimen Pt. 1 – YouTube
- Preserving and mounting a dead tarantula | Arachnoboards
Arlo is a lifelong arachnid enthusiast who believes tarantulas are the world’s most misunderstood roommates. With years of hands-on experience in tarantula care, habitat setup, and species behavior, Arlo combines expert knowledge with a dash of humor to make spider ownership less scary and a lot more fascinating. From choosing the right enclosure to understanding why your eight-legged buddy is doing that weird little pose again, Arlo is here to help you become the best tarantula parent you can be, without getting tangled in the web of misinformation.
Veterinary Care